19 Tiny Pantry Organisation Ideas on a Budget
A tiny pantry does not need expensive containers to work well — it needs zones, visibility, and containers that actually fit the shelf depth you have. Budget organization starts with measuring first, grouping food by how you use it, and choosing simple bins and risers you can buy a few at a time. Most of the ideas below use low-cost basics from discount and big-box stores, plus labels that stop the mystery-bag problem for good. Whether your pantry is one cabinet, a closet corner, or a single shelf, these low-cost changes make it faster to find dinner, spot what is running low, and avoid buying duplicates.
1. Measure Shelves Before Buying Anything
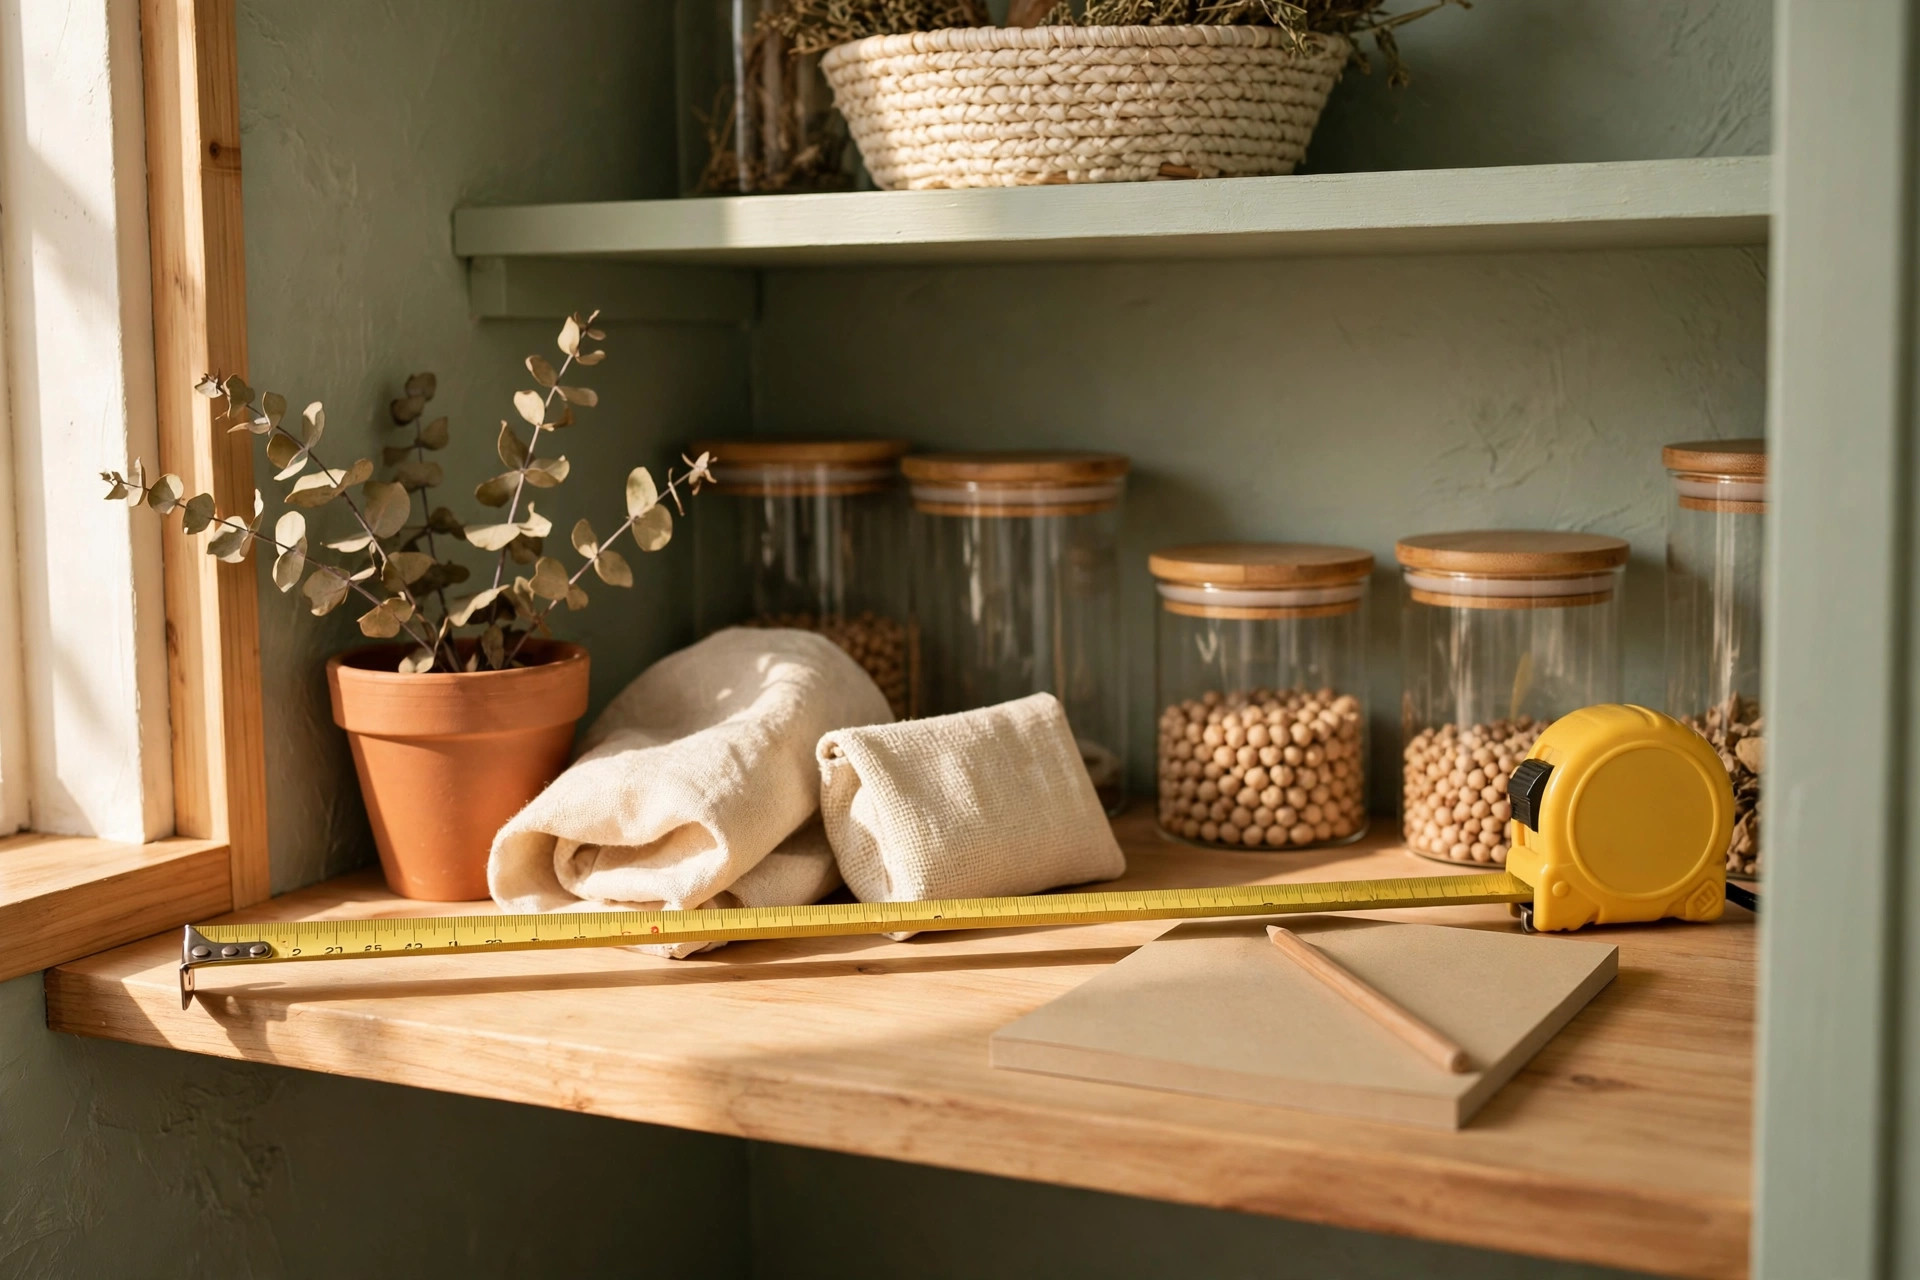
Measure shelf width, depth, and the height between shelves before buying a single bin. Many budget containers fail simply because they are an inch too deep or too tall for the space. Keep the measurements in your phone so you can check sizes while shopping and skip returns.
2. Group Food Into Simple Zones
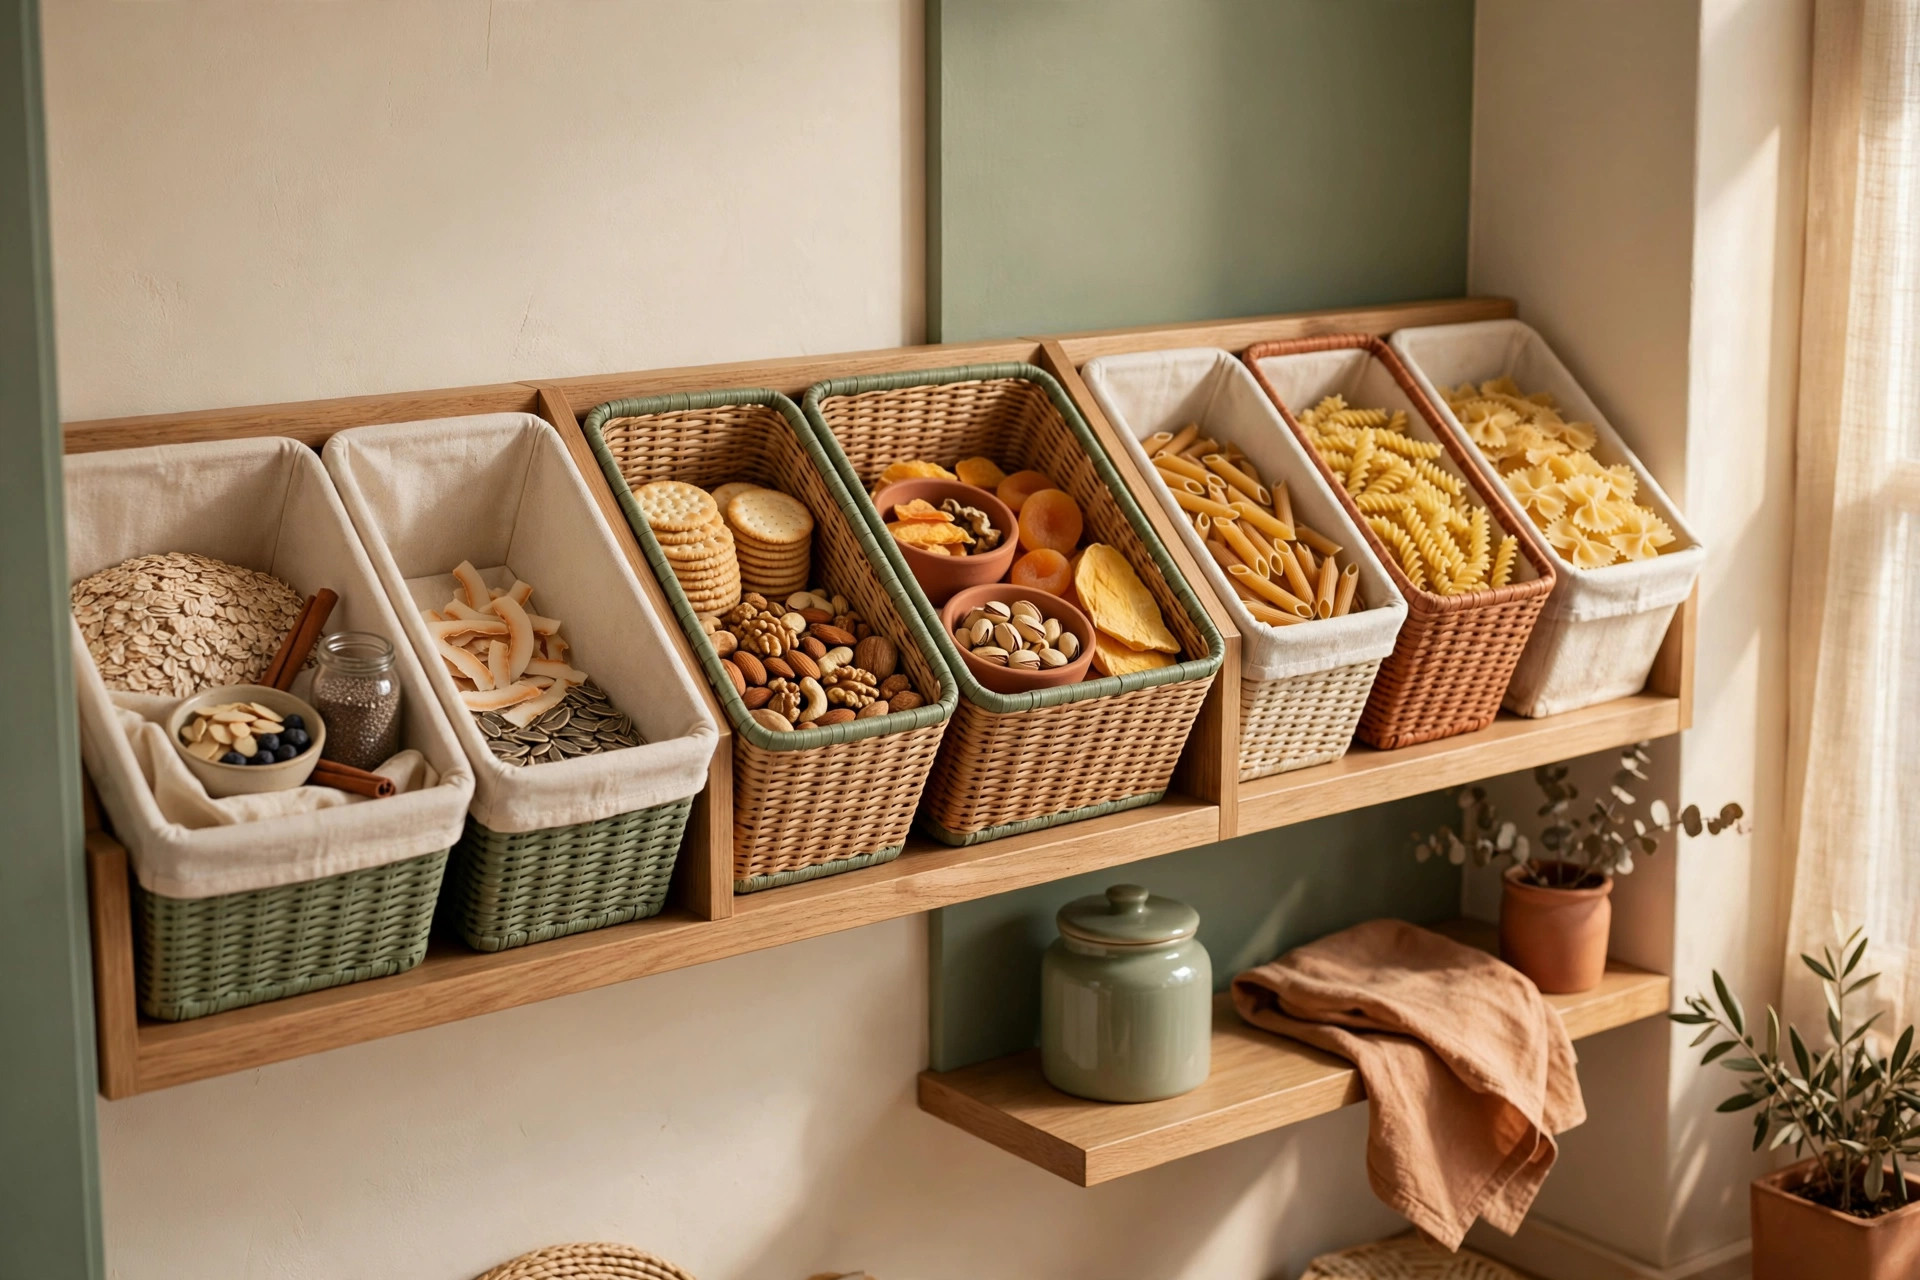
Sort everything into a few zones such as breakfast, pasta and grains, snacks, baking, and cans. Zones stop the daily shuffle where one item gets buried behind five unrelated boxes. Even in a one-shelf pantry, left-to-right zones make restocking and grocery lists much faster.
3. Use Dollar-Store Bins for Packets
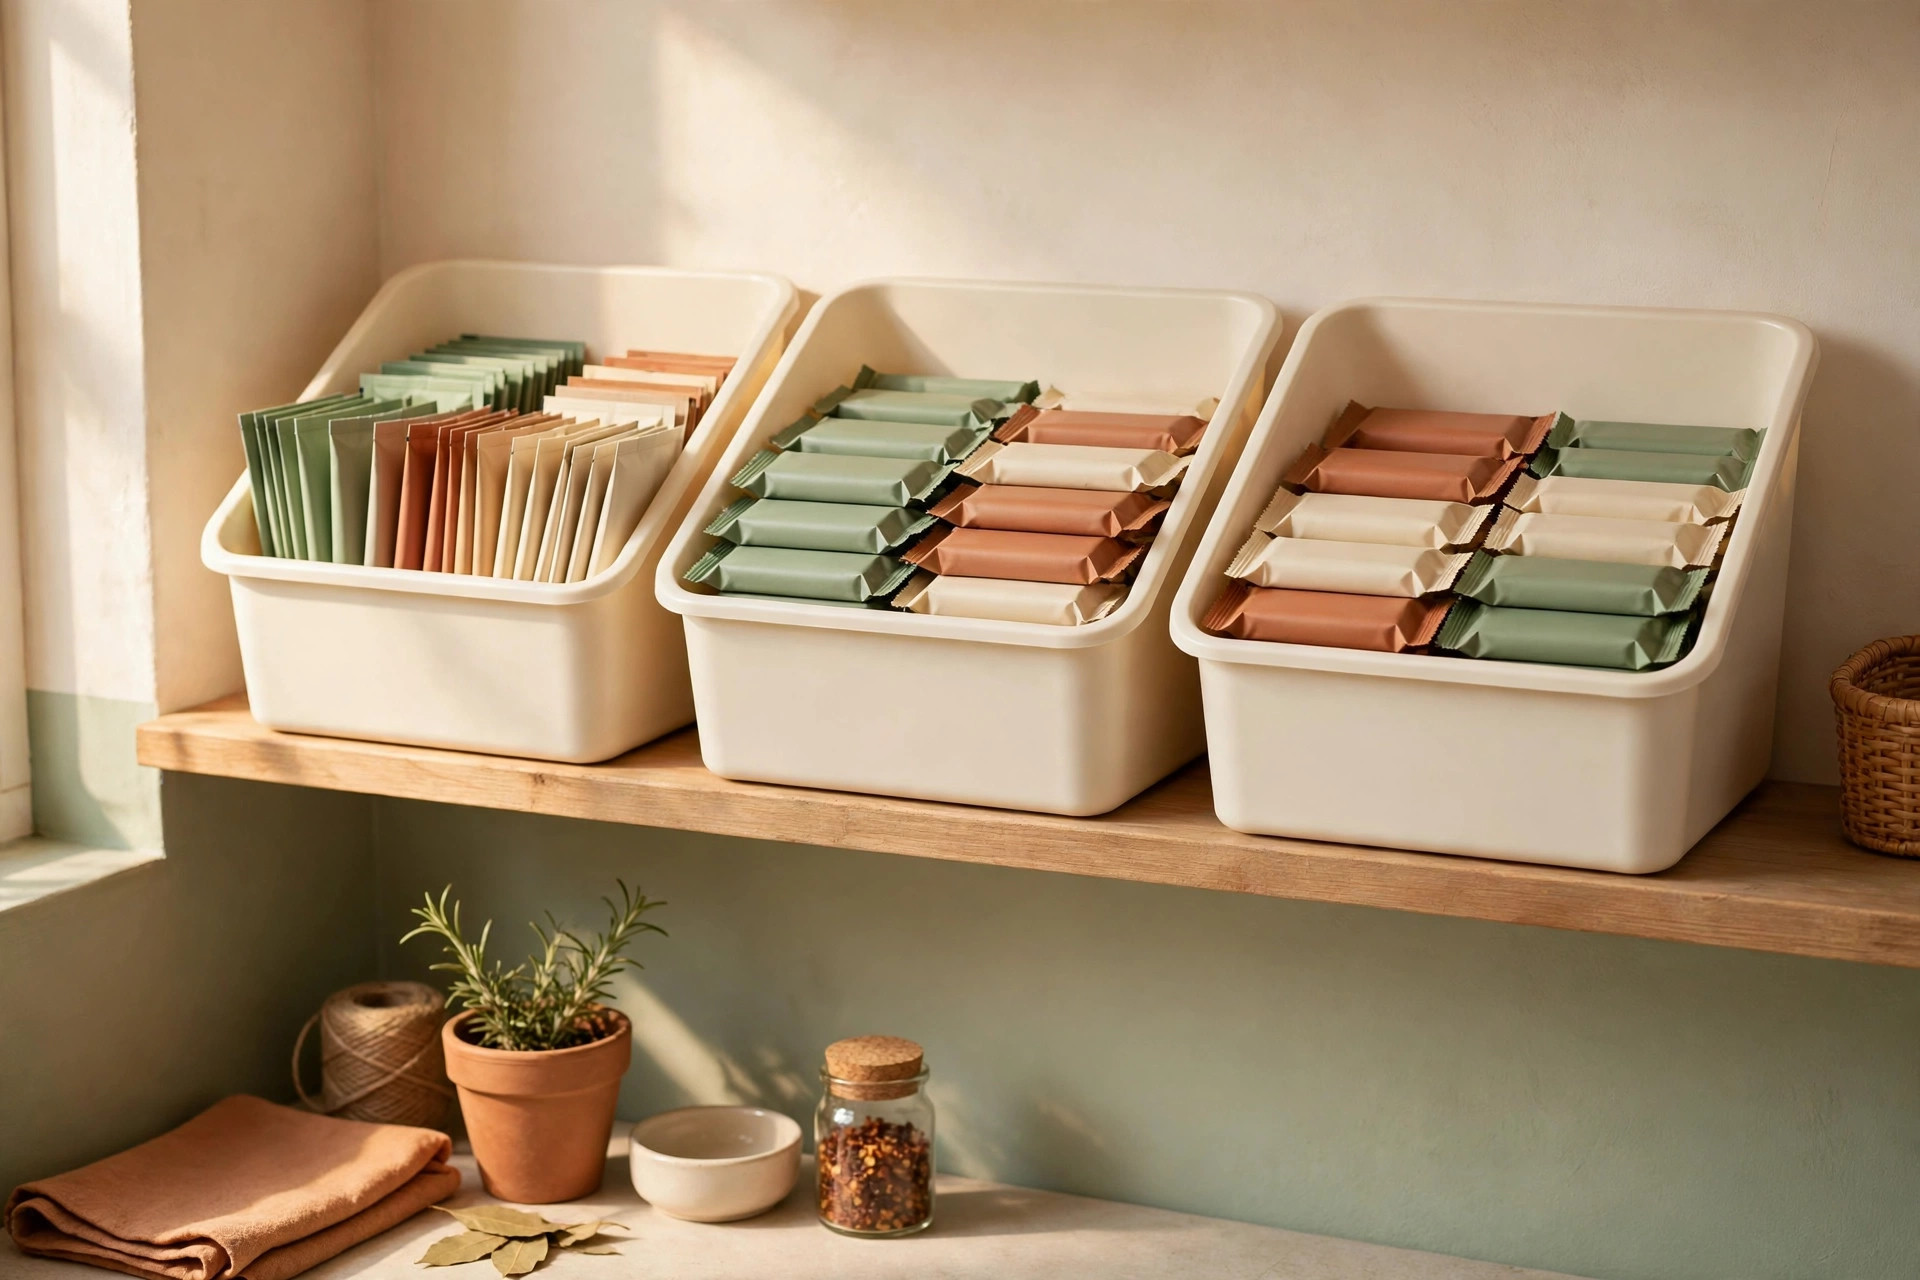
Low-cost plastic bins from discount stores are ideal for gravy packets, seasoning mixes, tea, and snack bars that otherwise scatter. The bins cost very little, come in repeatable sizes, and can be replaced without regret. Choose open bins so you can see contents at a glance instead of lifting lids.
4. Decant Into Clear Jars You Already Own
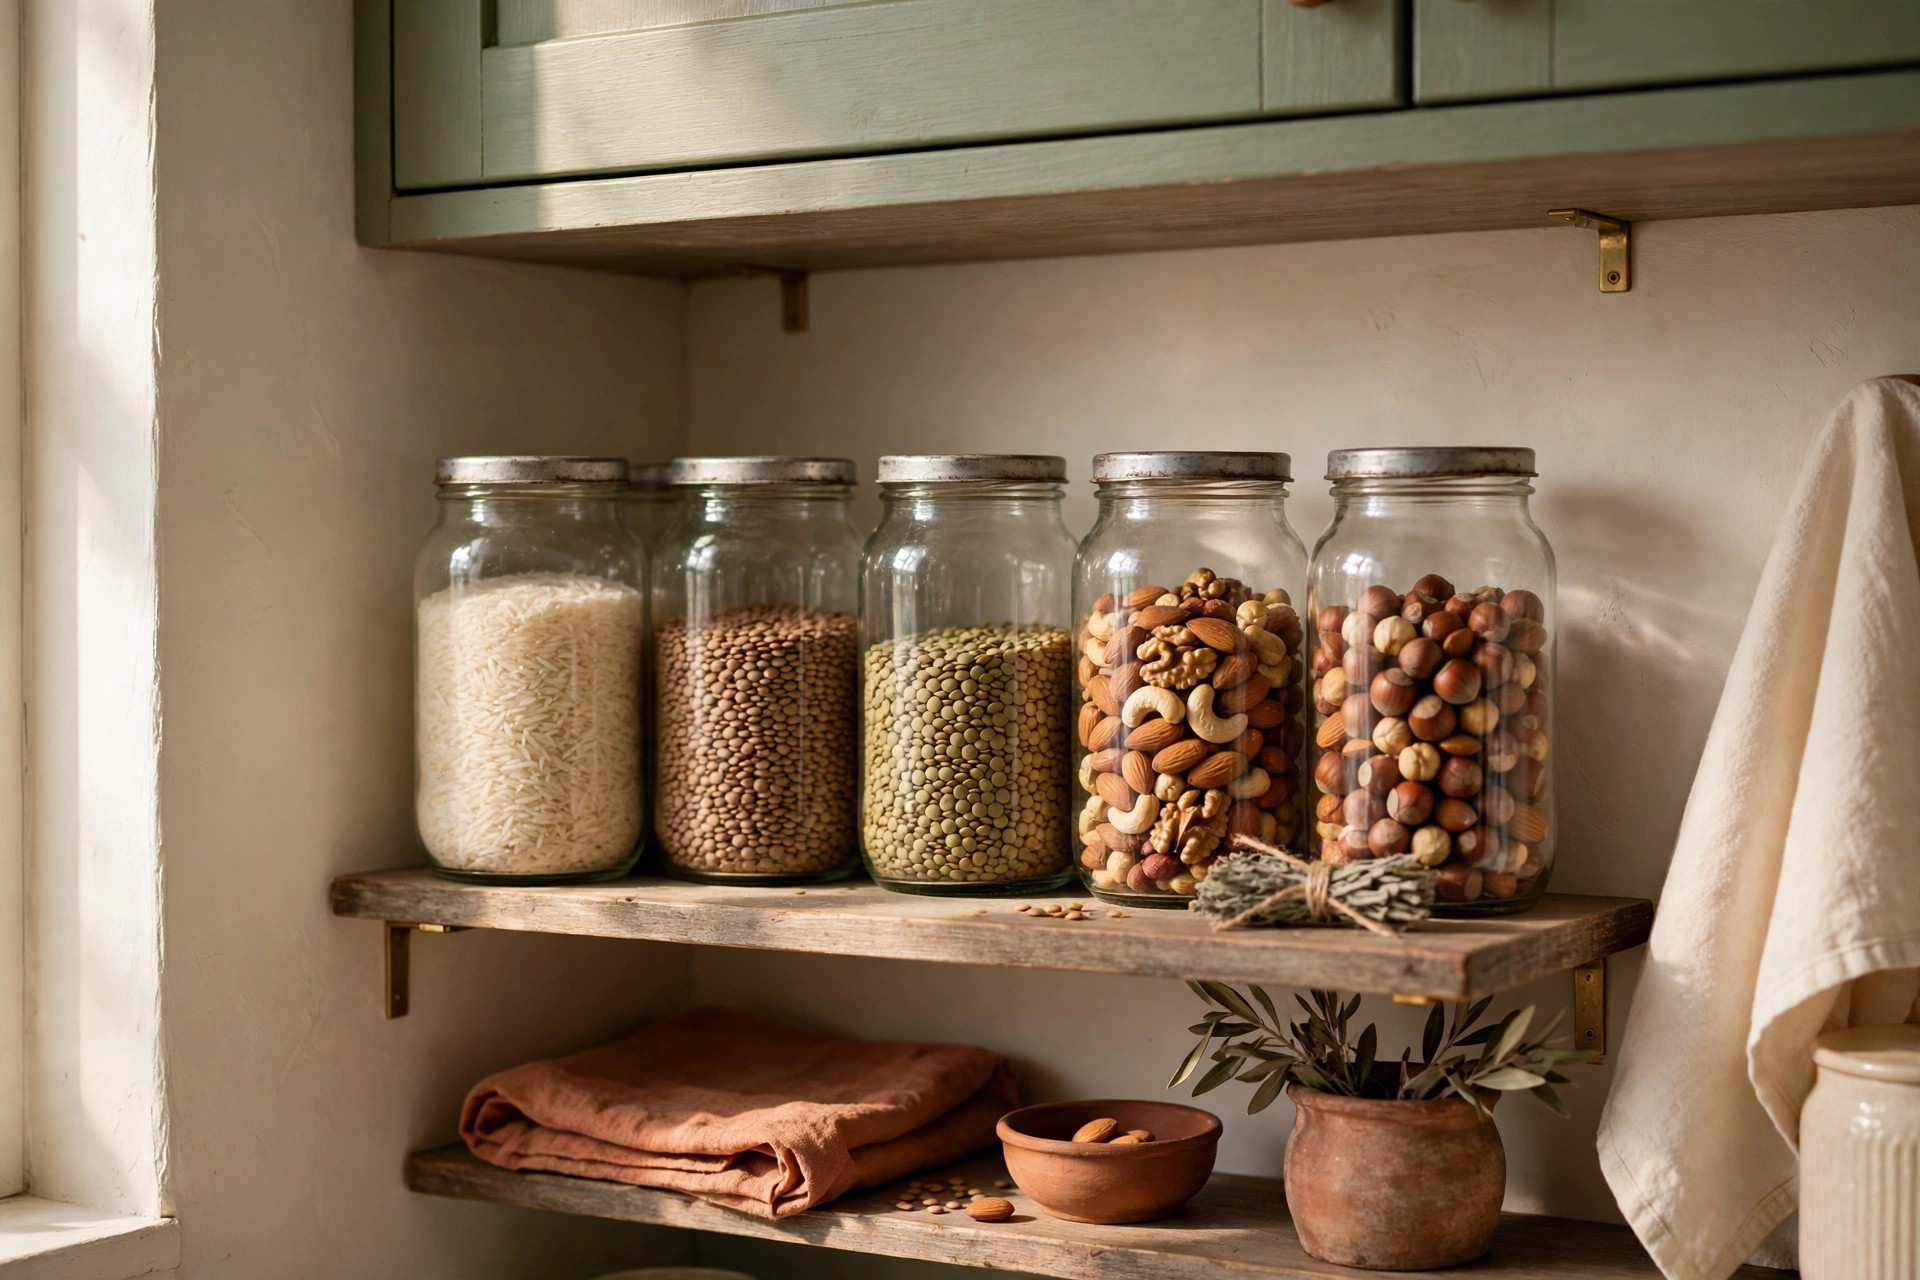
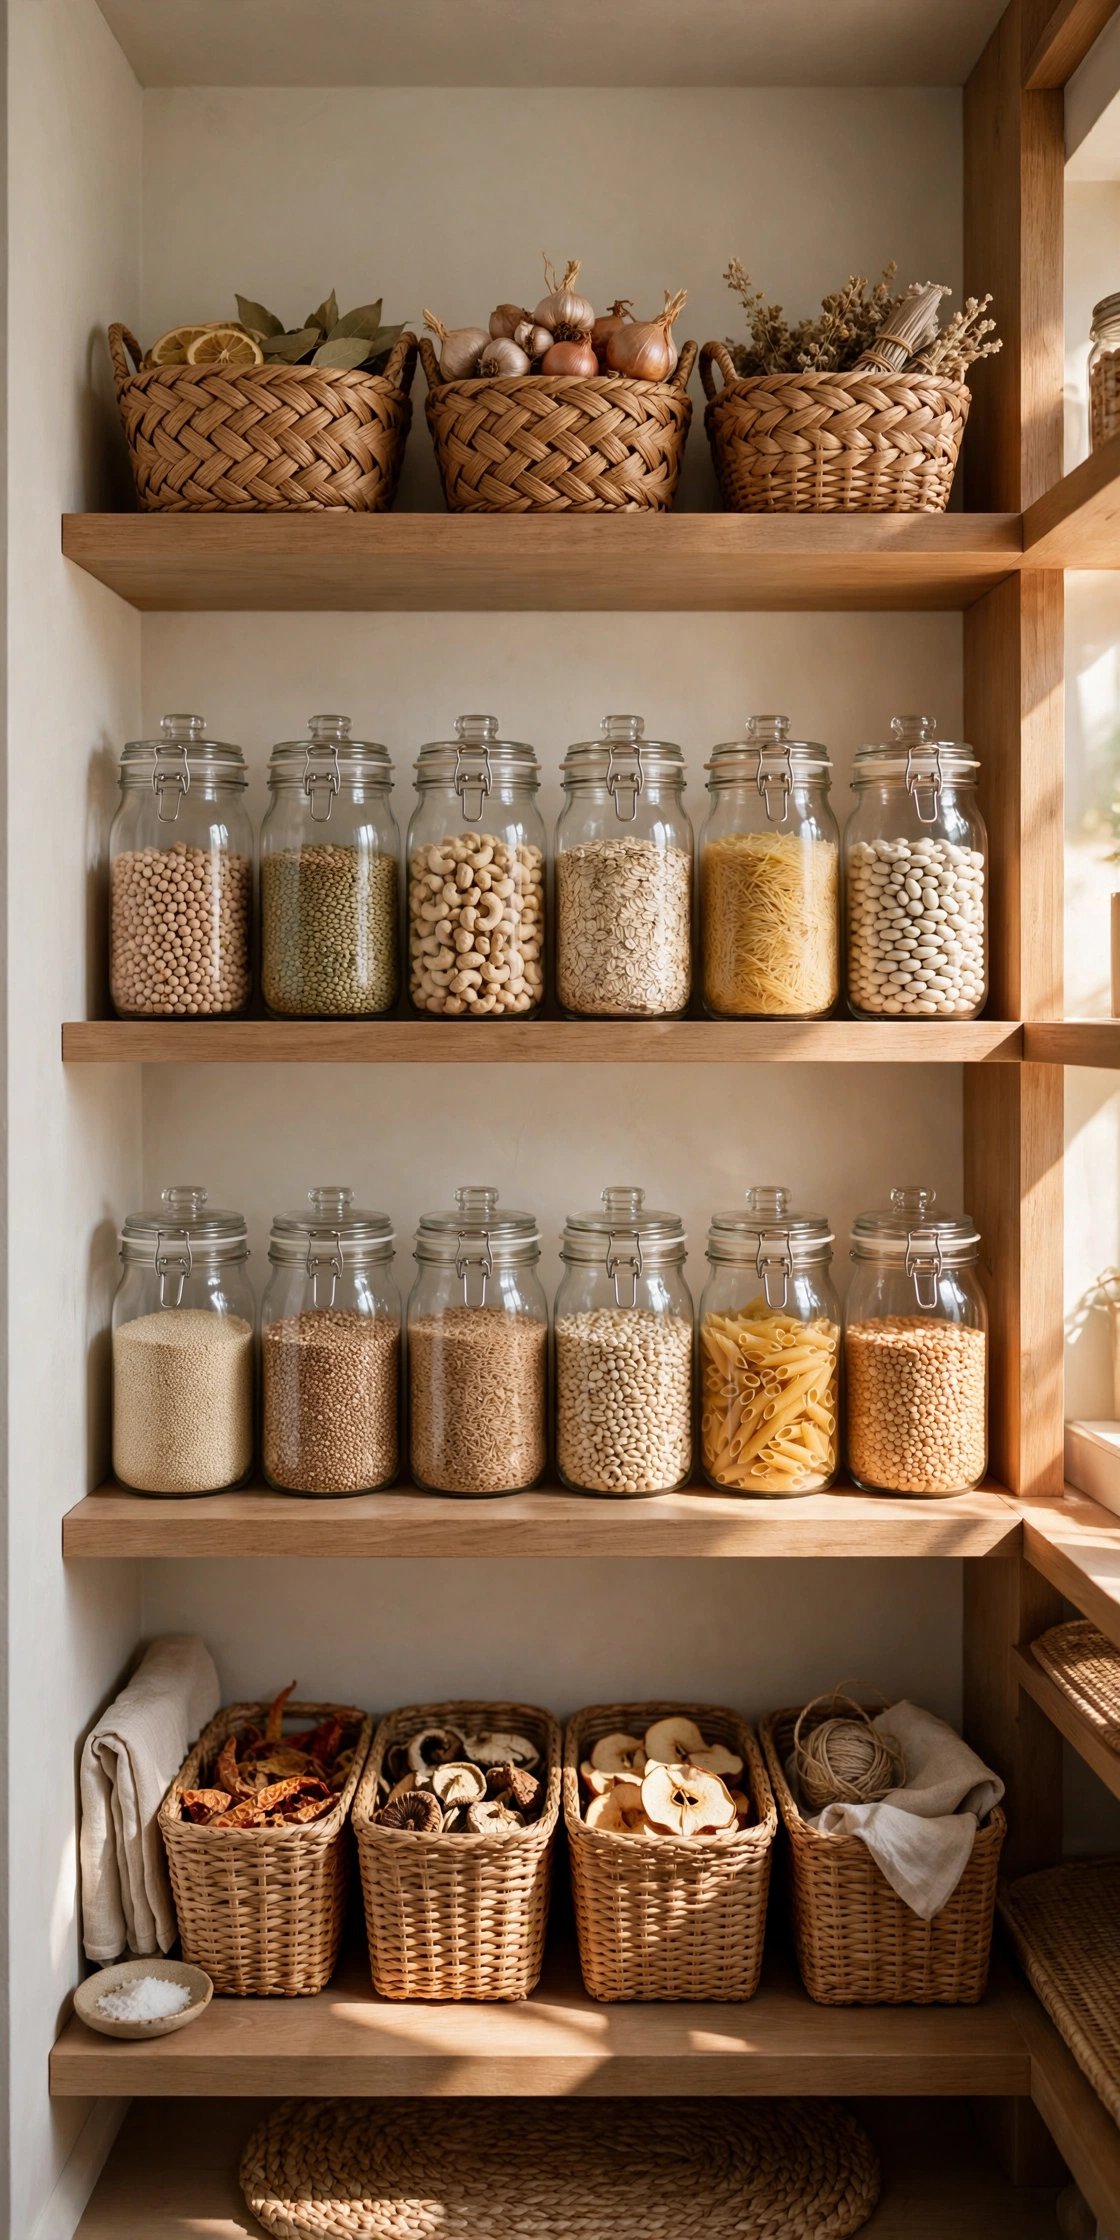
Reuse clean glass jars from pasta sauce and jam for rice, lentils, nuts, and baking staples. Clear jars show quantity instantly and seal better than half-open bags clipped shut. Keep the shapes similar where possible so the shelf looks tidy without buying a matching set.
5. Add a Low-Cost Shelf Riser
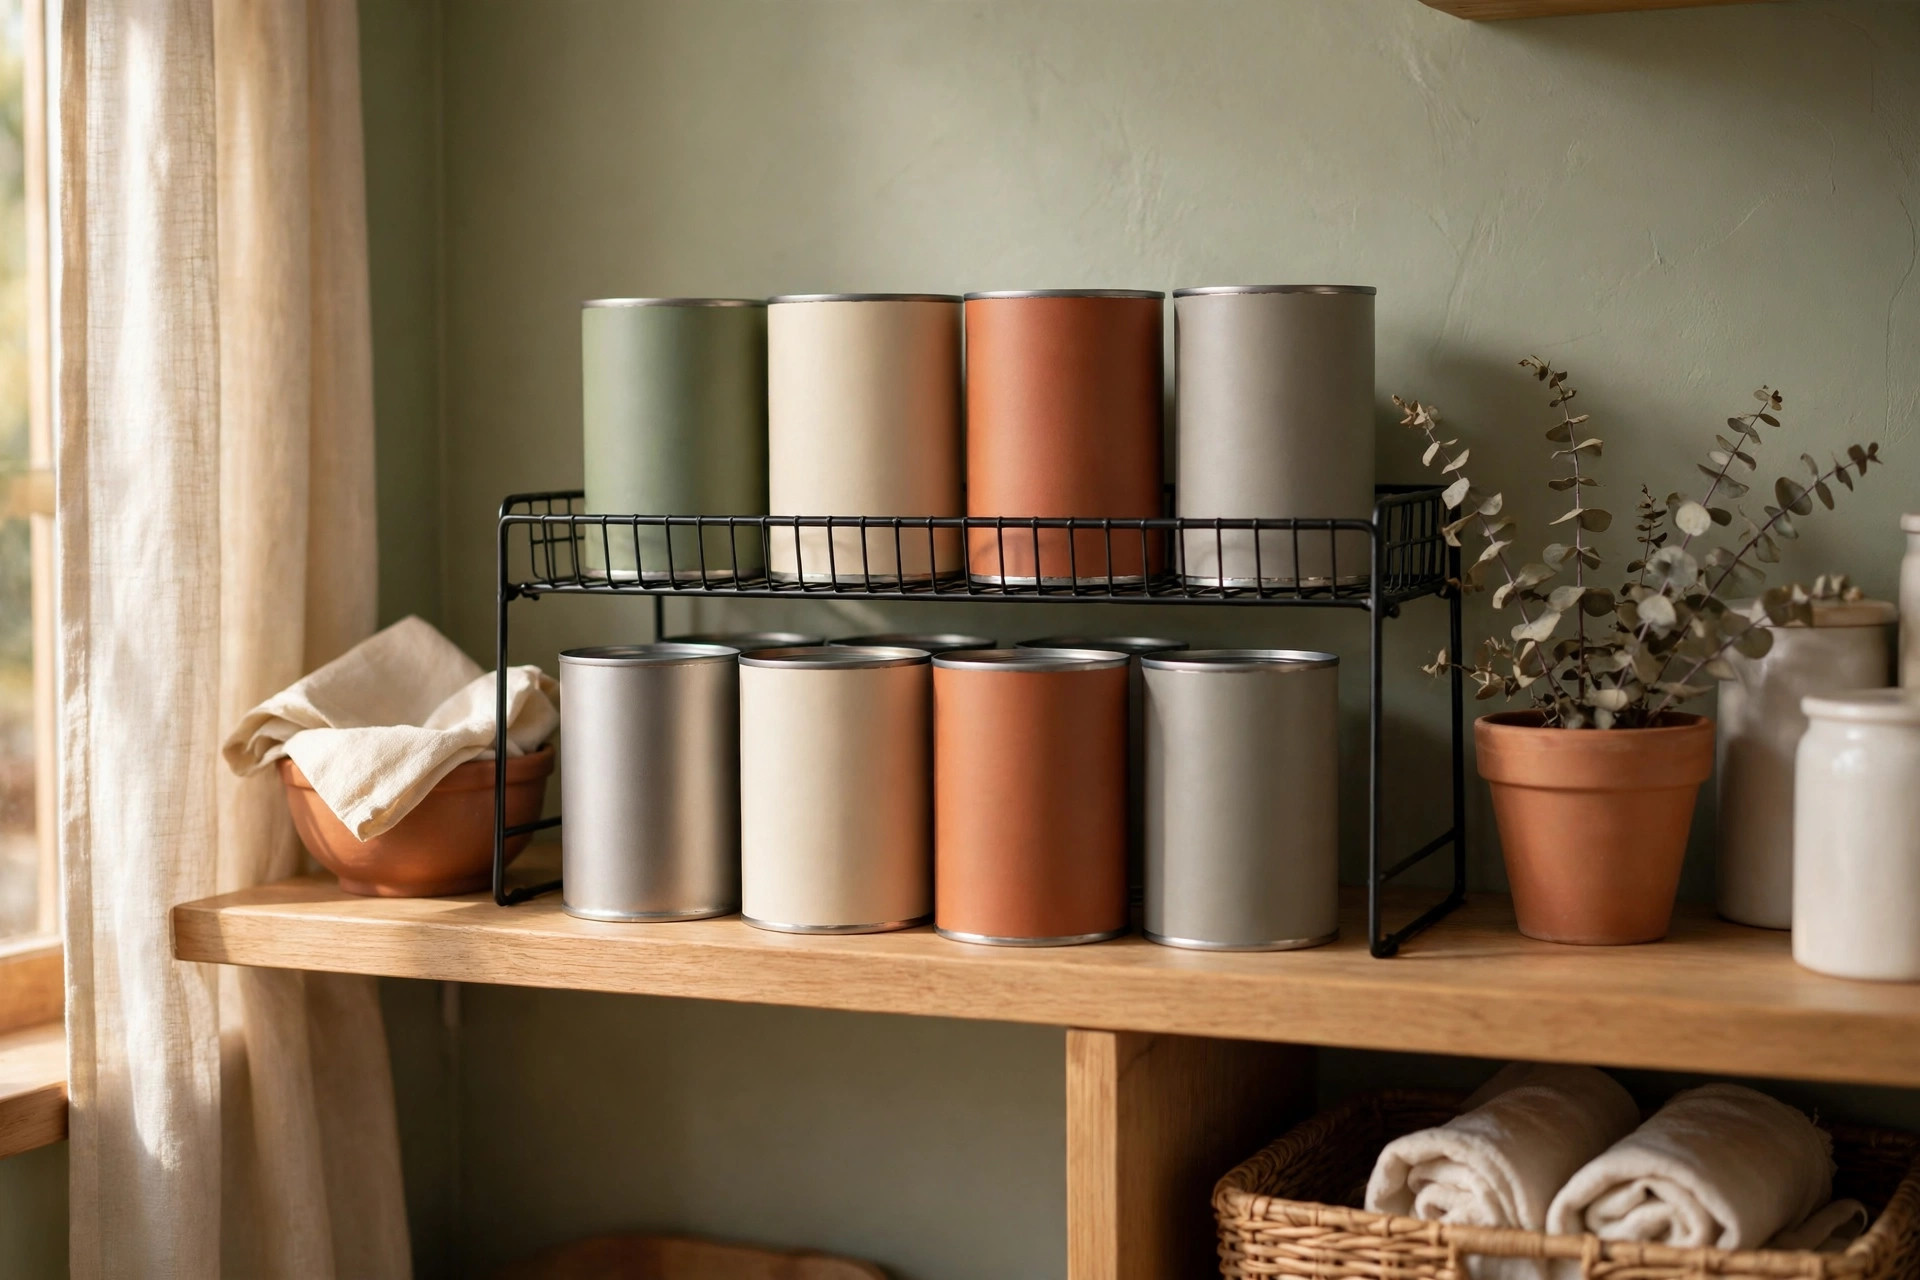
A simple wire or bamboo riser creates a second level on a tall shelf so cans and jars do not hide behind each other. Risers are typically inexpensive and need no tools to set up. Place taller items at the back of the riser and everyday items in front for easy grabbing.
6. Turntable for a Deep Corner
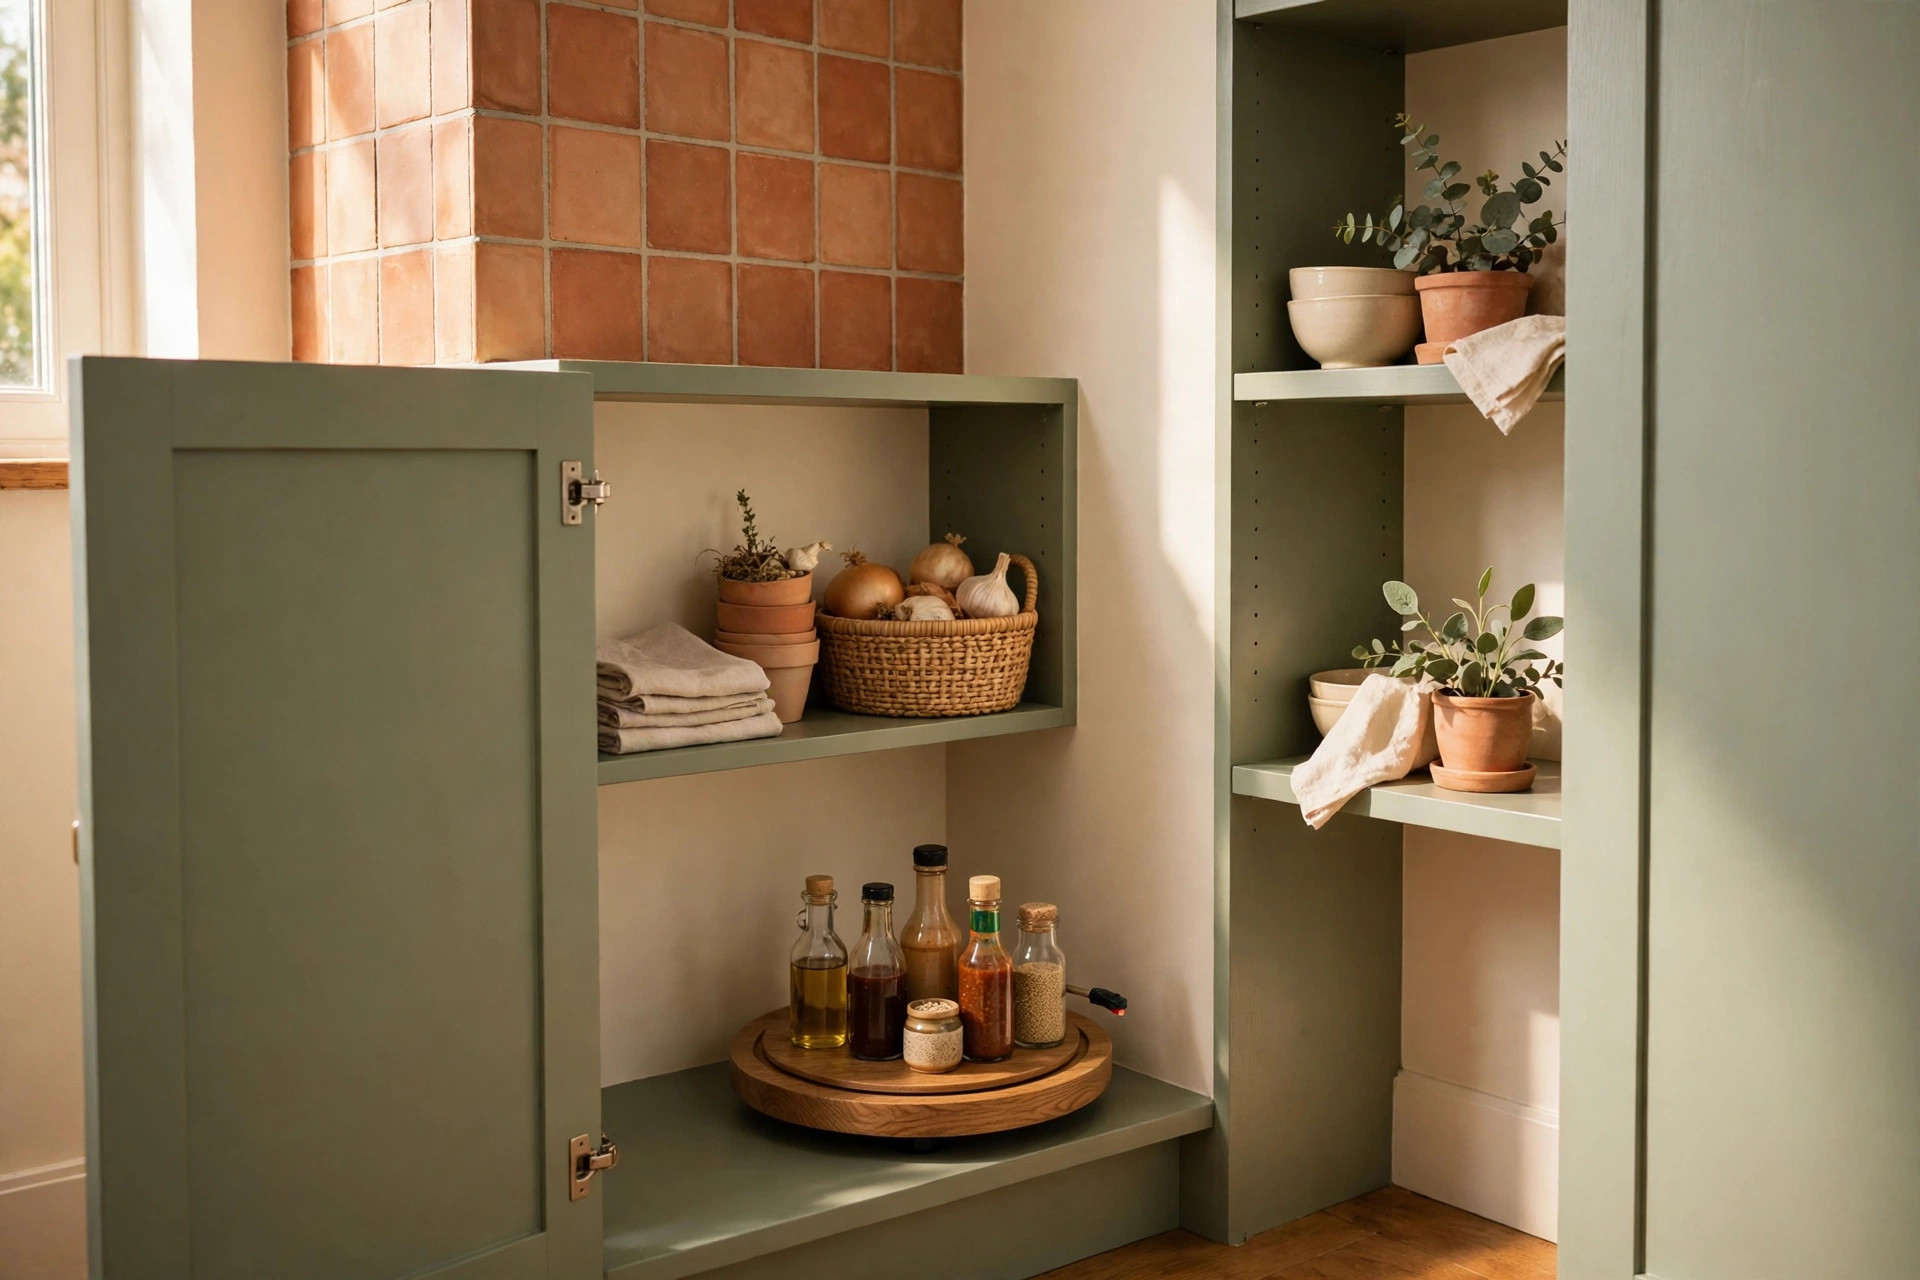
A small turntable solves the deep pantry corner where sauces and jars go to be forgotten. Spin instead of reaching, and group similar bottles together so the whole category comes forward at once. A 10-inch turntable fits most pantry shelves and is widely available at budget prices.
7. Label Everything With Masking Tape
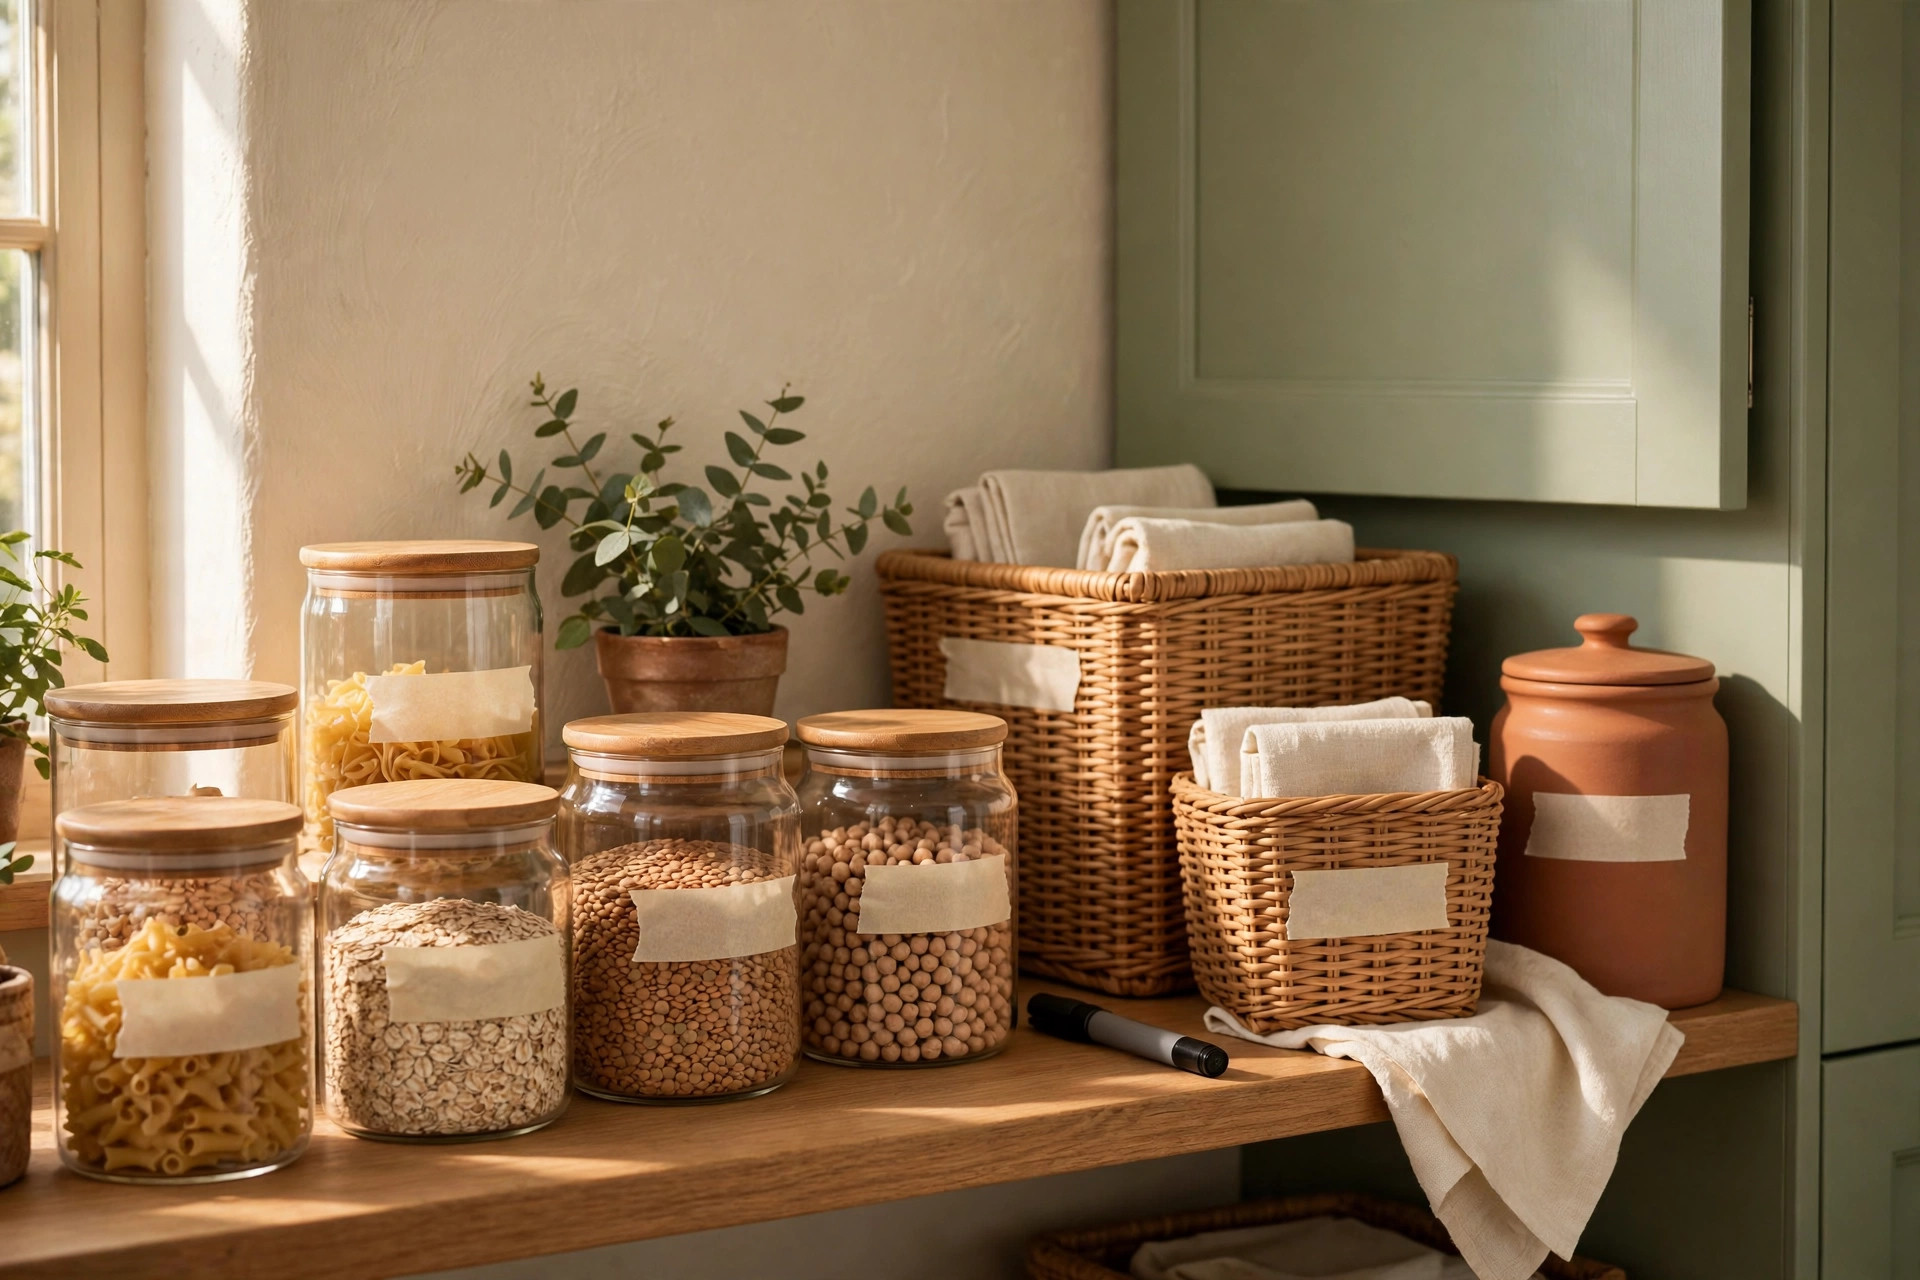
A strip of masking tape and a marker is the cheapest labeling system that actually gets used. Label jars, bins, and shelf edges with the contents and, for perishables, the month opened. Tape peels off cleanly, so labels can change as your pantry changes.
8. Store Cans in a Rolling Can Rack
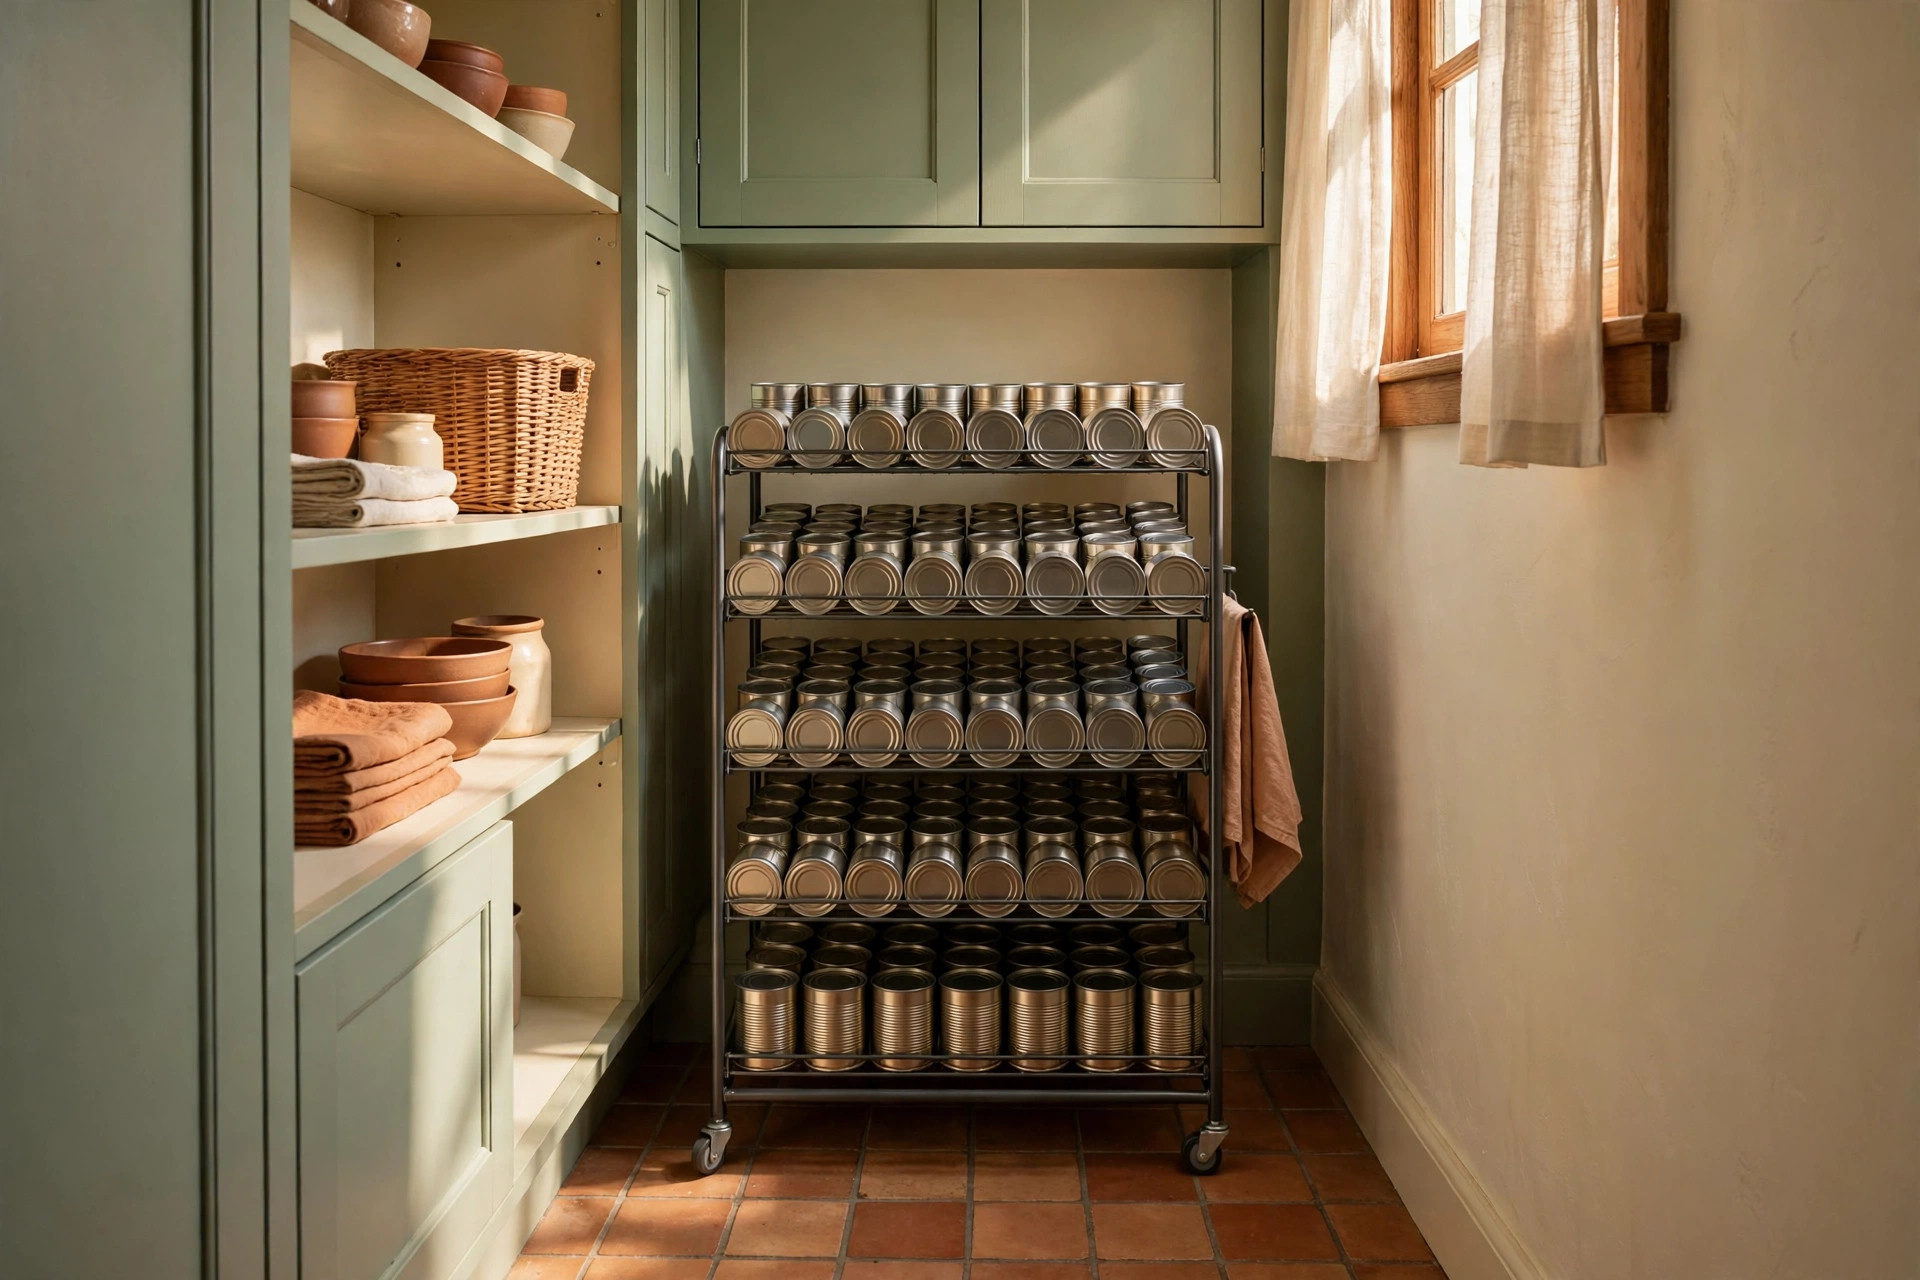
A gravity-fed or simple rolling rack keeps cans in a line so the oldest can is used first. It also uses vertical space better than stacking cans in a wobbly pyramid. Compact racks sized for 10 to 12 cans suit most tiny pantries.
9. Hang Chips and Bags From Clips
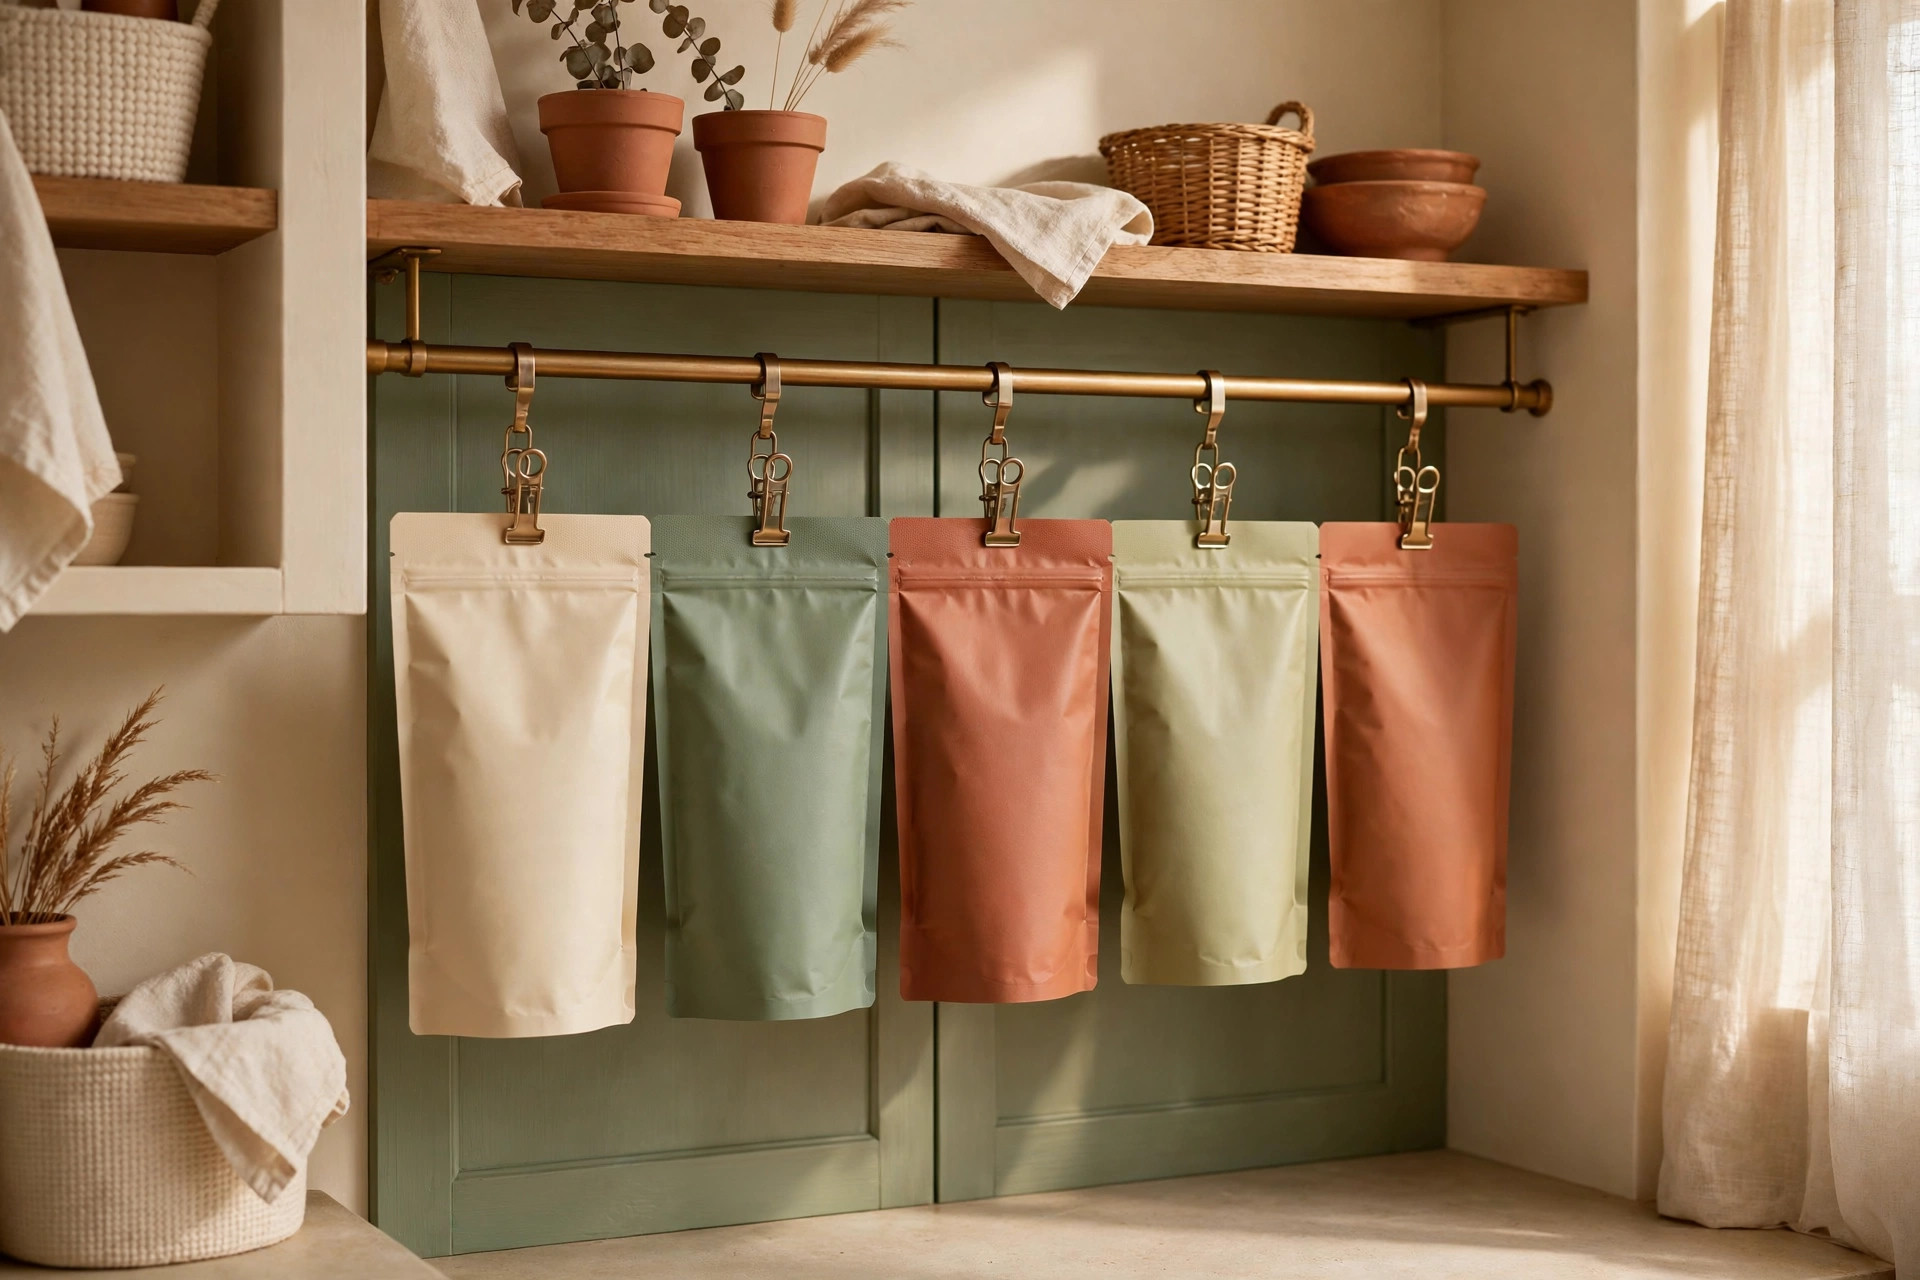
Use clip hangers or binder clips on a rod or shelf edge to hang chip bags and tortilla packs upright. Hanging keeps bags sealed, visible, and off the shelf floor where they get crushed. This trick costs almost nothing if you already own clips or skirt hangers.
10. Use the Pantry Door for Flat Items
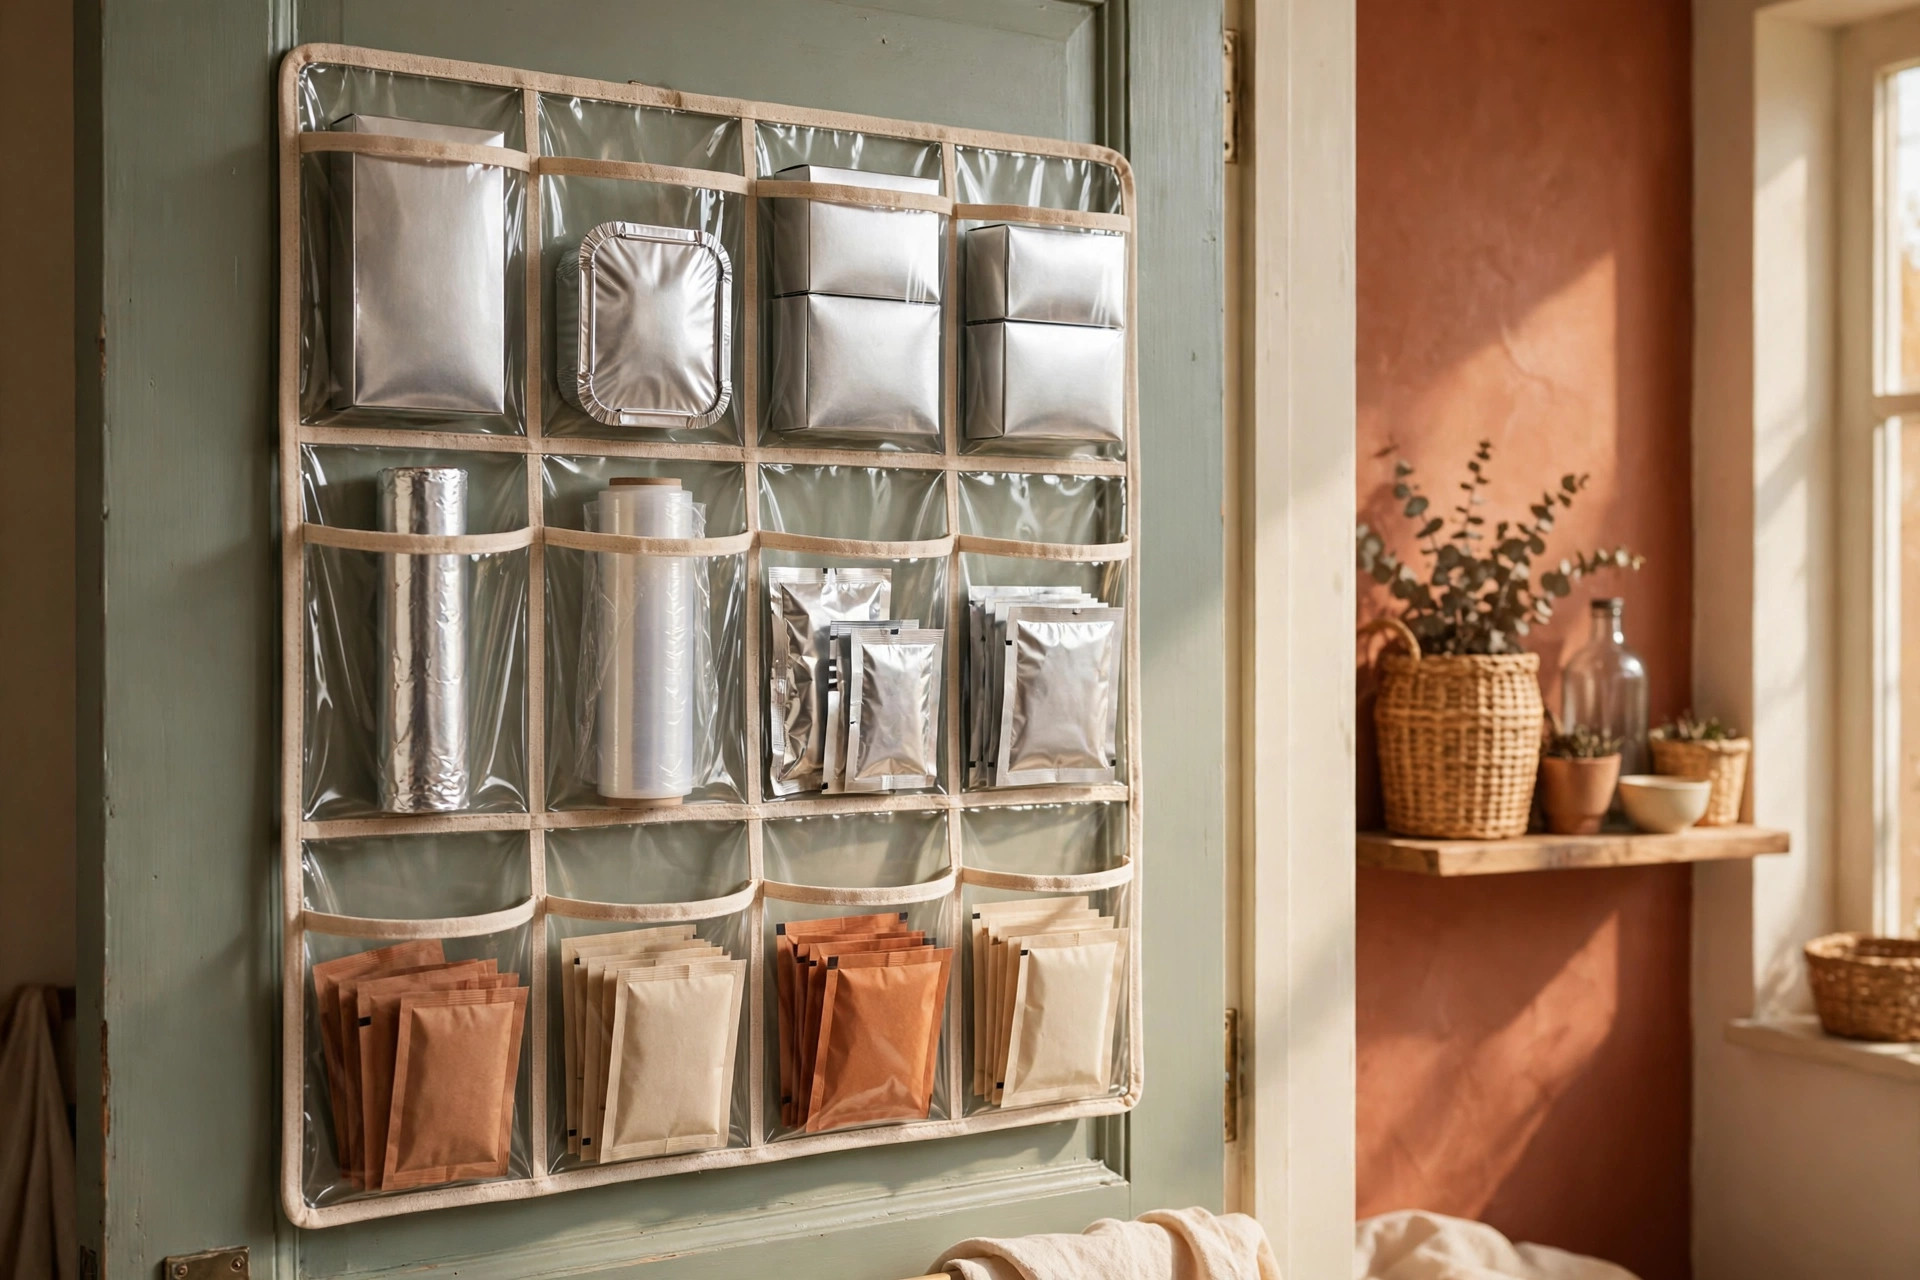
The inside of a pantry or closet door is perfect for flat and light items like wraps, foils, spice packets, and shopping lists. Clear over-door shoe pockets or a slim wire rack both work at a low cost. Keep only light items on the door so hinges are not strained.
11. Stack With Square Containers Only
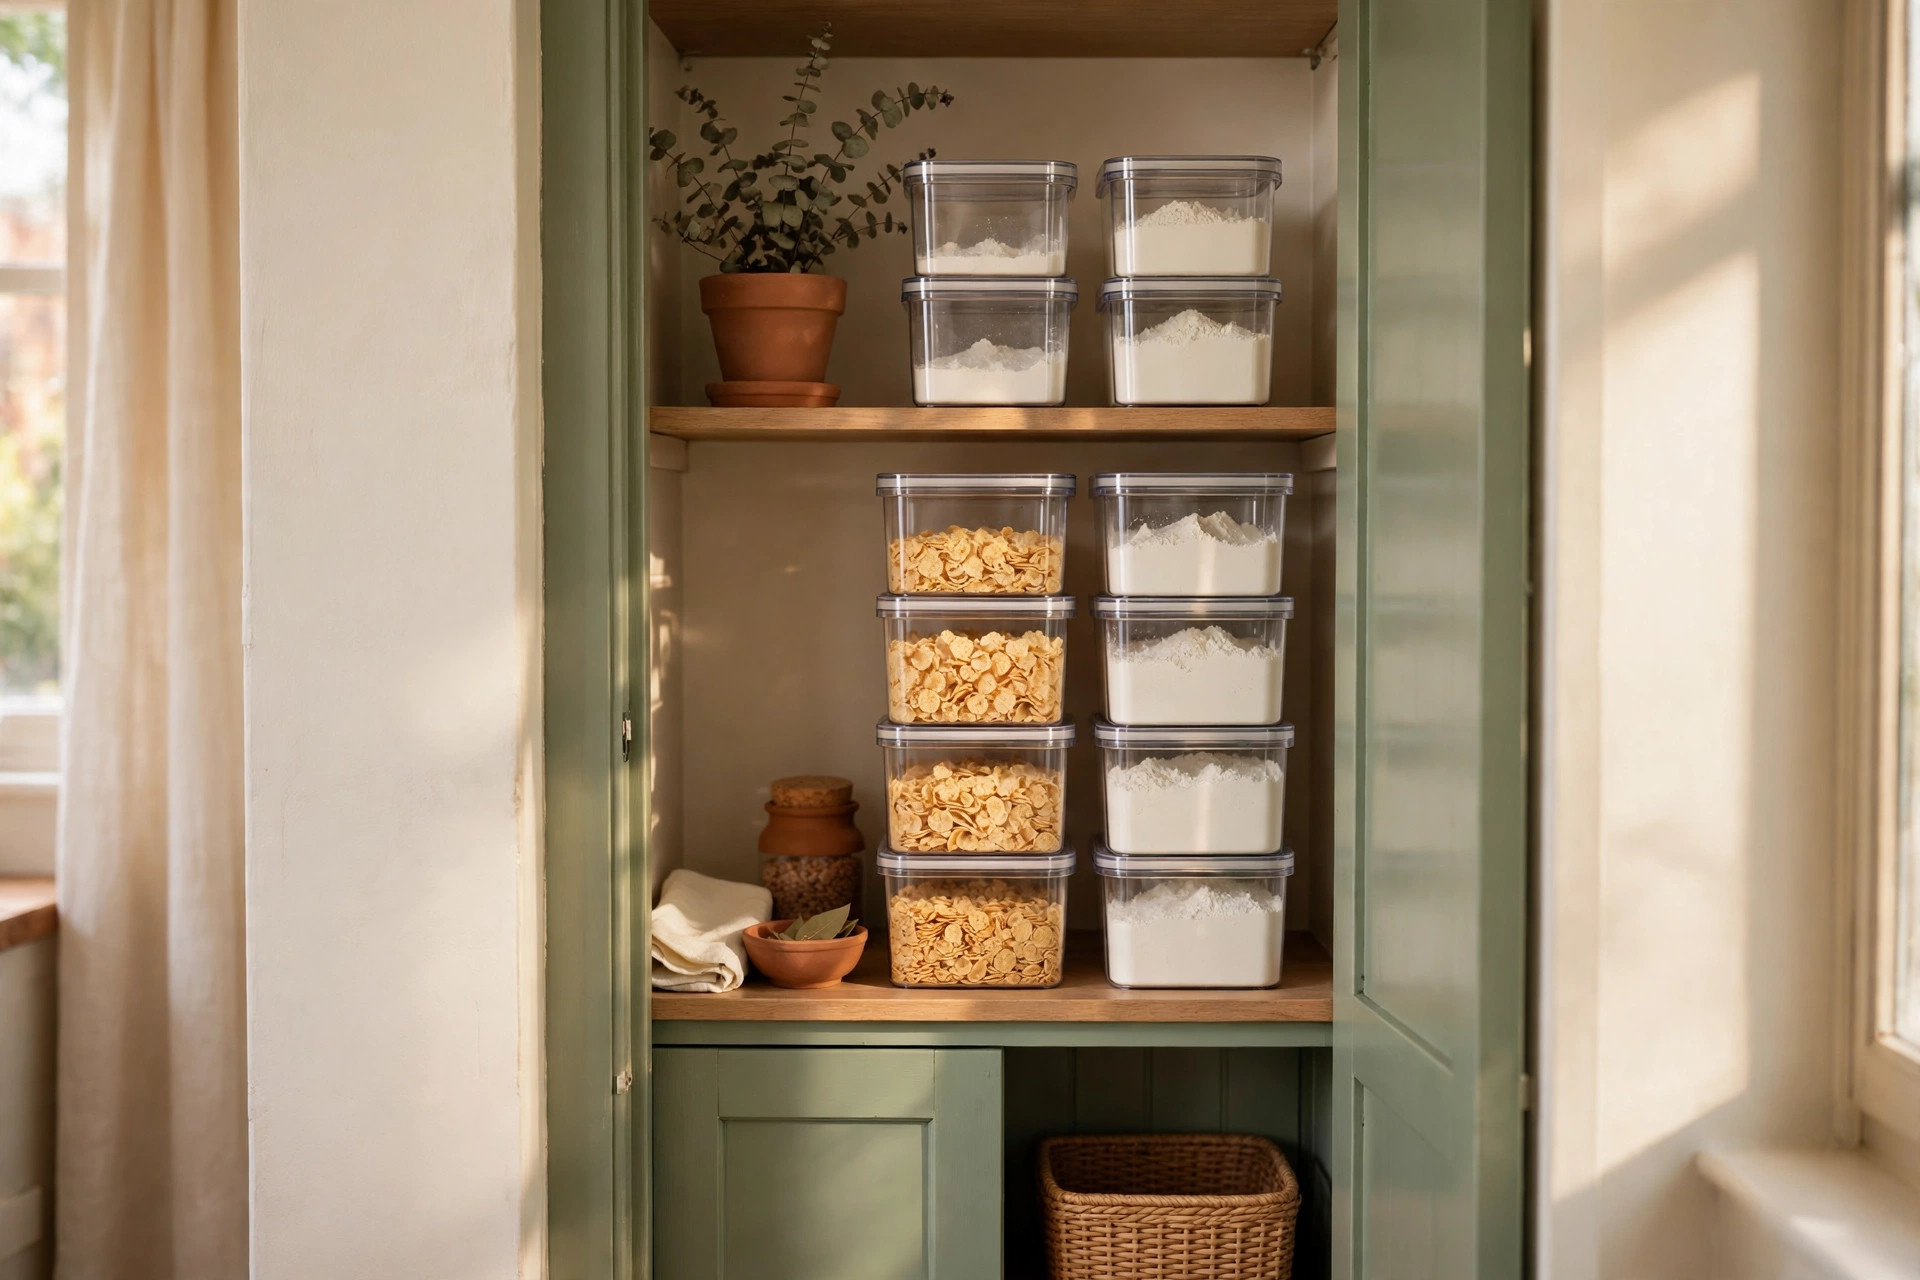
Square and rectangular containers stack without the wasted gaps that round containers leave. On a budget, buy a few at a time in the same size so the stack stays stable and interchangeable. Reserve them for flour, sugar, cereal, and other high-use staples you refill often.
12. Create a Snack Bin at Eye Level
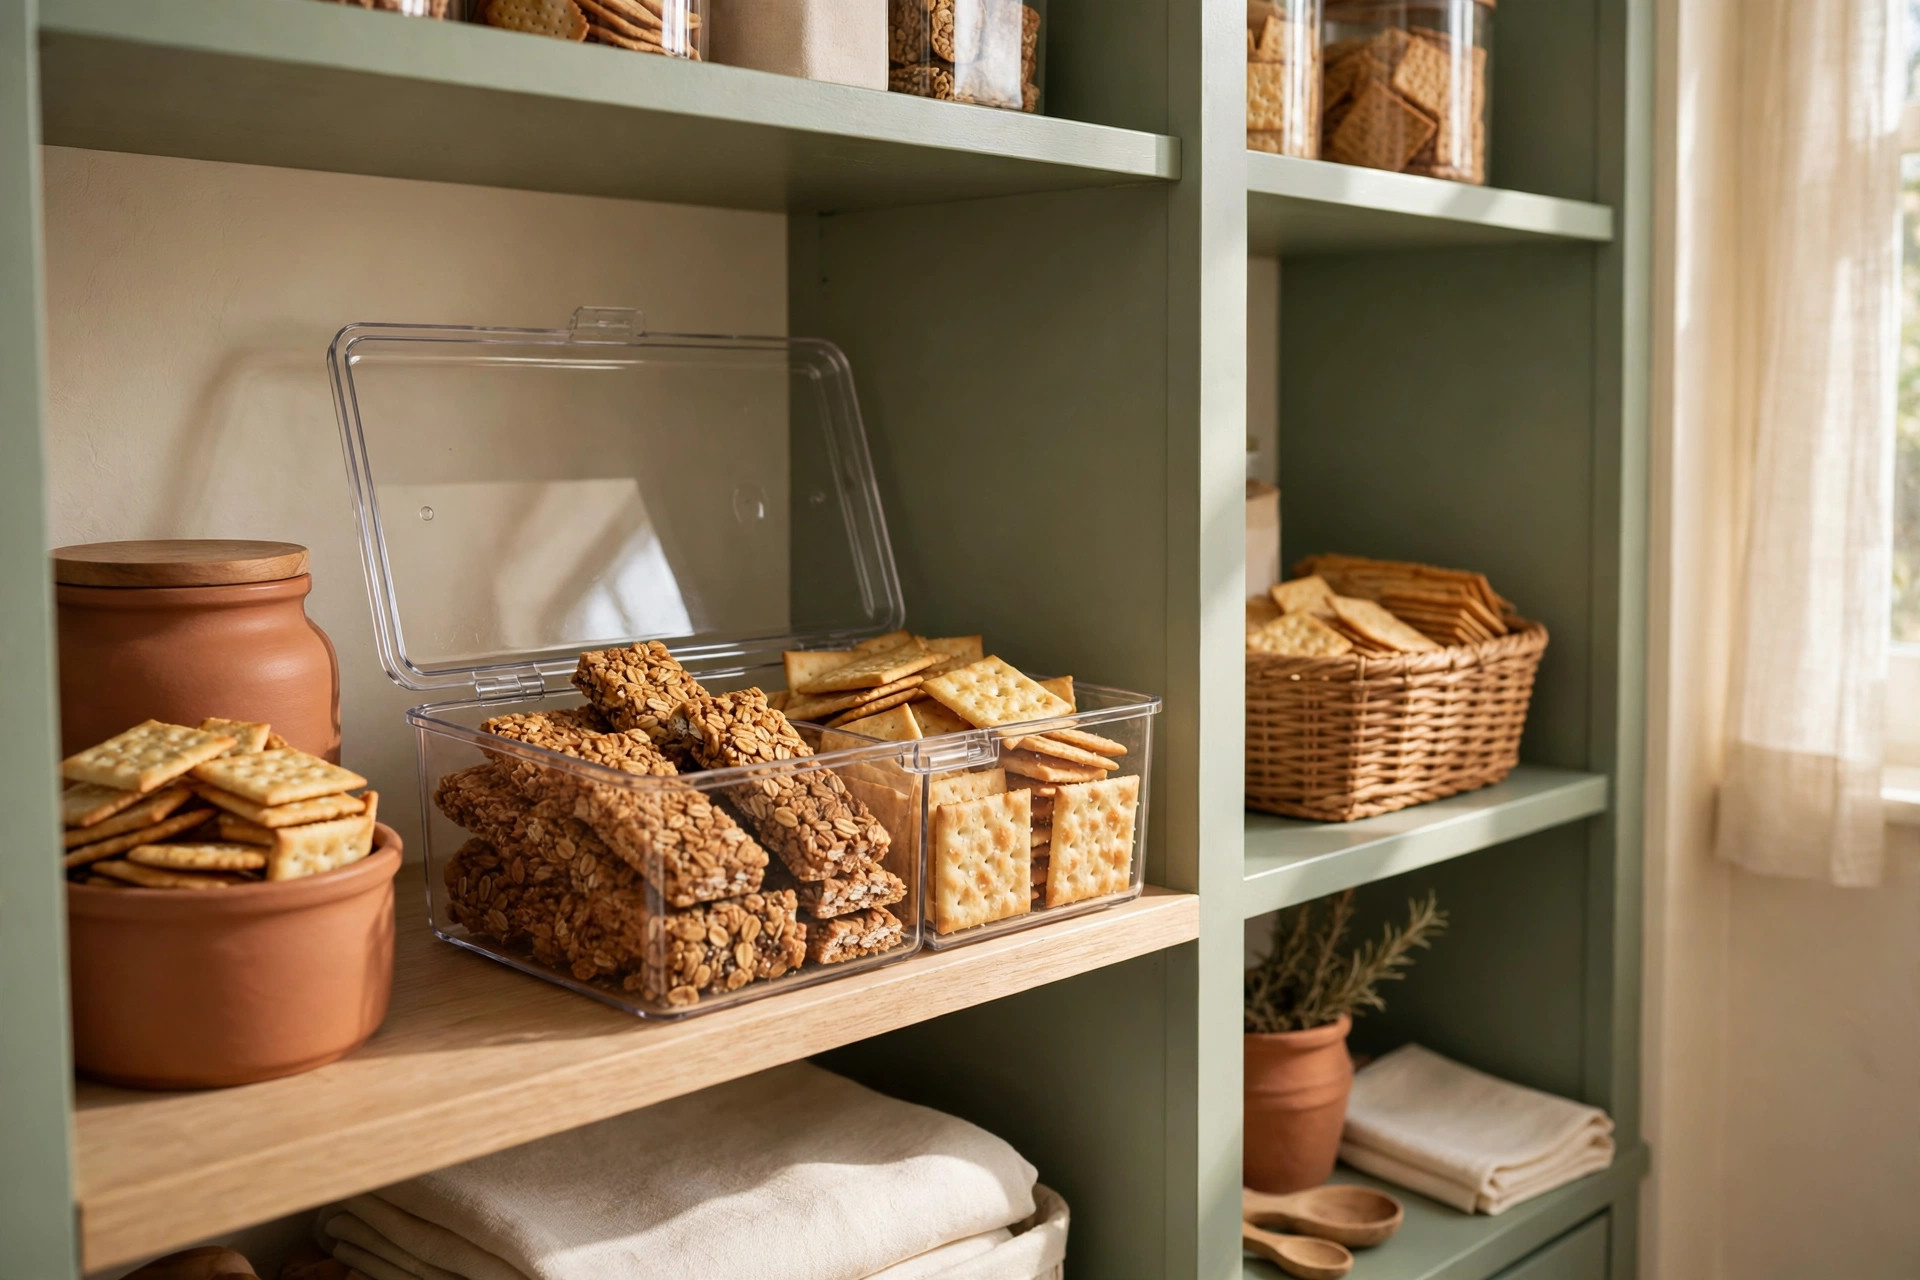
One open bin for snacks stops family members from tearing through every shelf looking for something to grab. Place it at eye or waist level and refill it from back-stock stored higher up. A single snack zone also makes it obvious when treats are running low.
13. Keep Back-Stock on the Highest Shelf
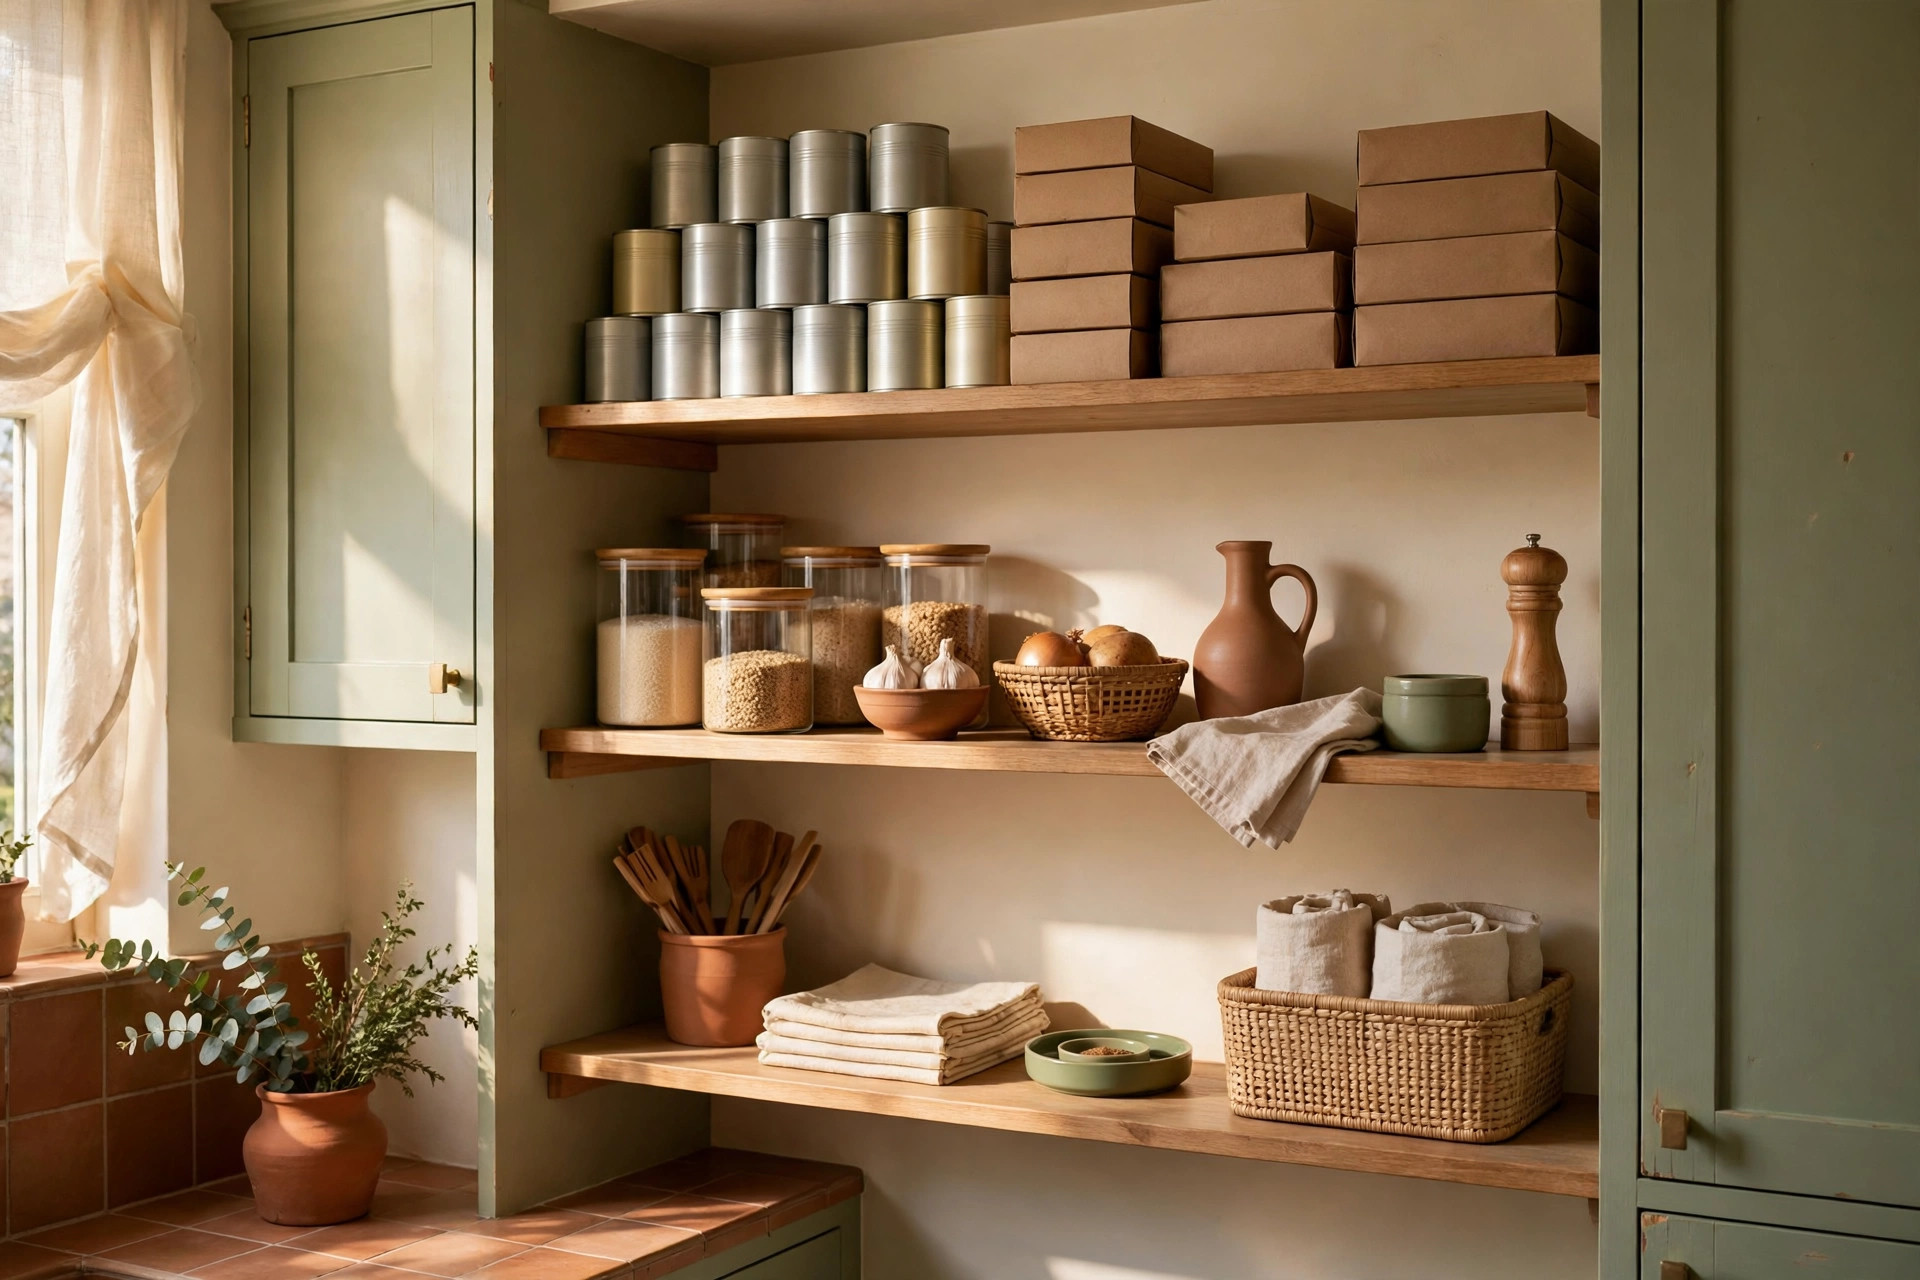
Store duplicate cans, bulk pasta, and refill packs on the highest or lowest shelf, out of the daily reach zone. Daily shelves stay uncluttered, and back-stock acts as your built-in shopping reminder. Check the back-stock shelf before writing a grocery list to avoid buying duplicates.
14. Use Magazine Holders for Bottles and Boxes
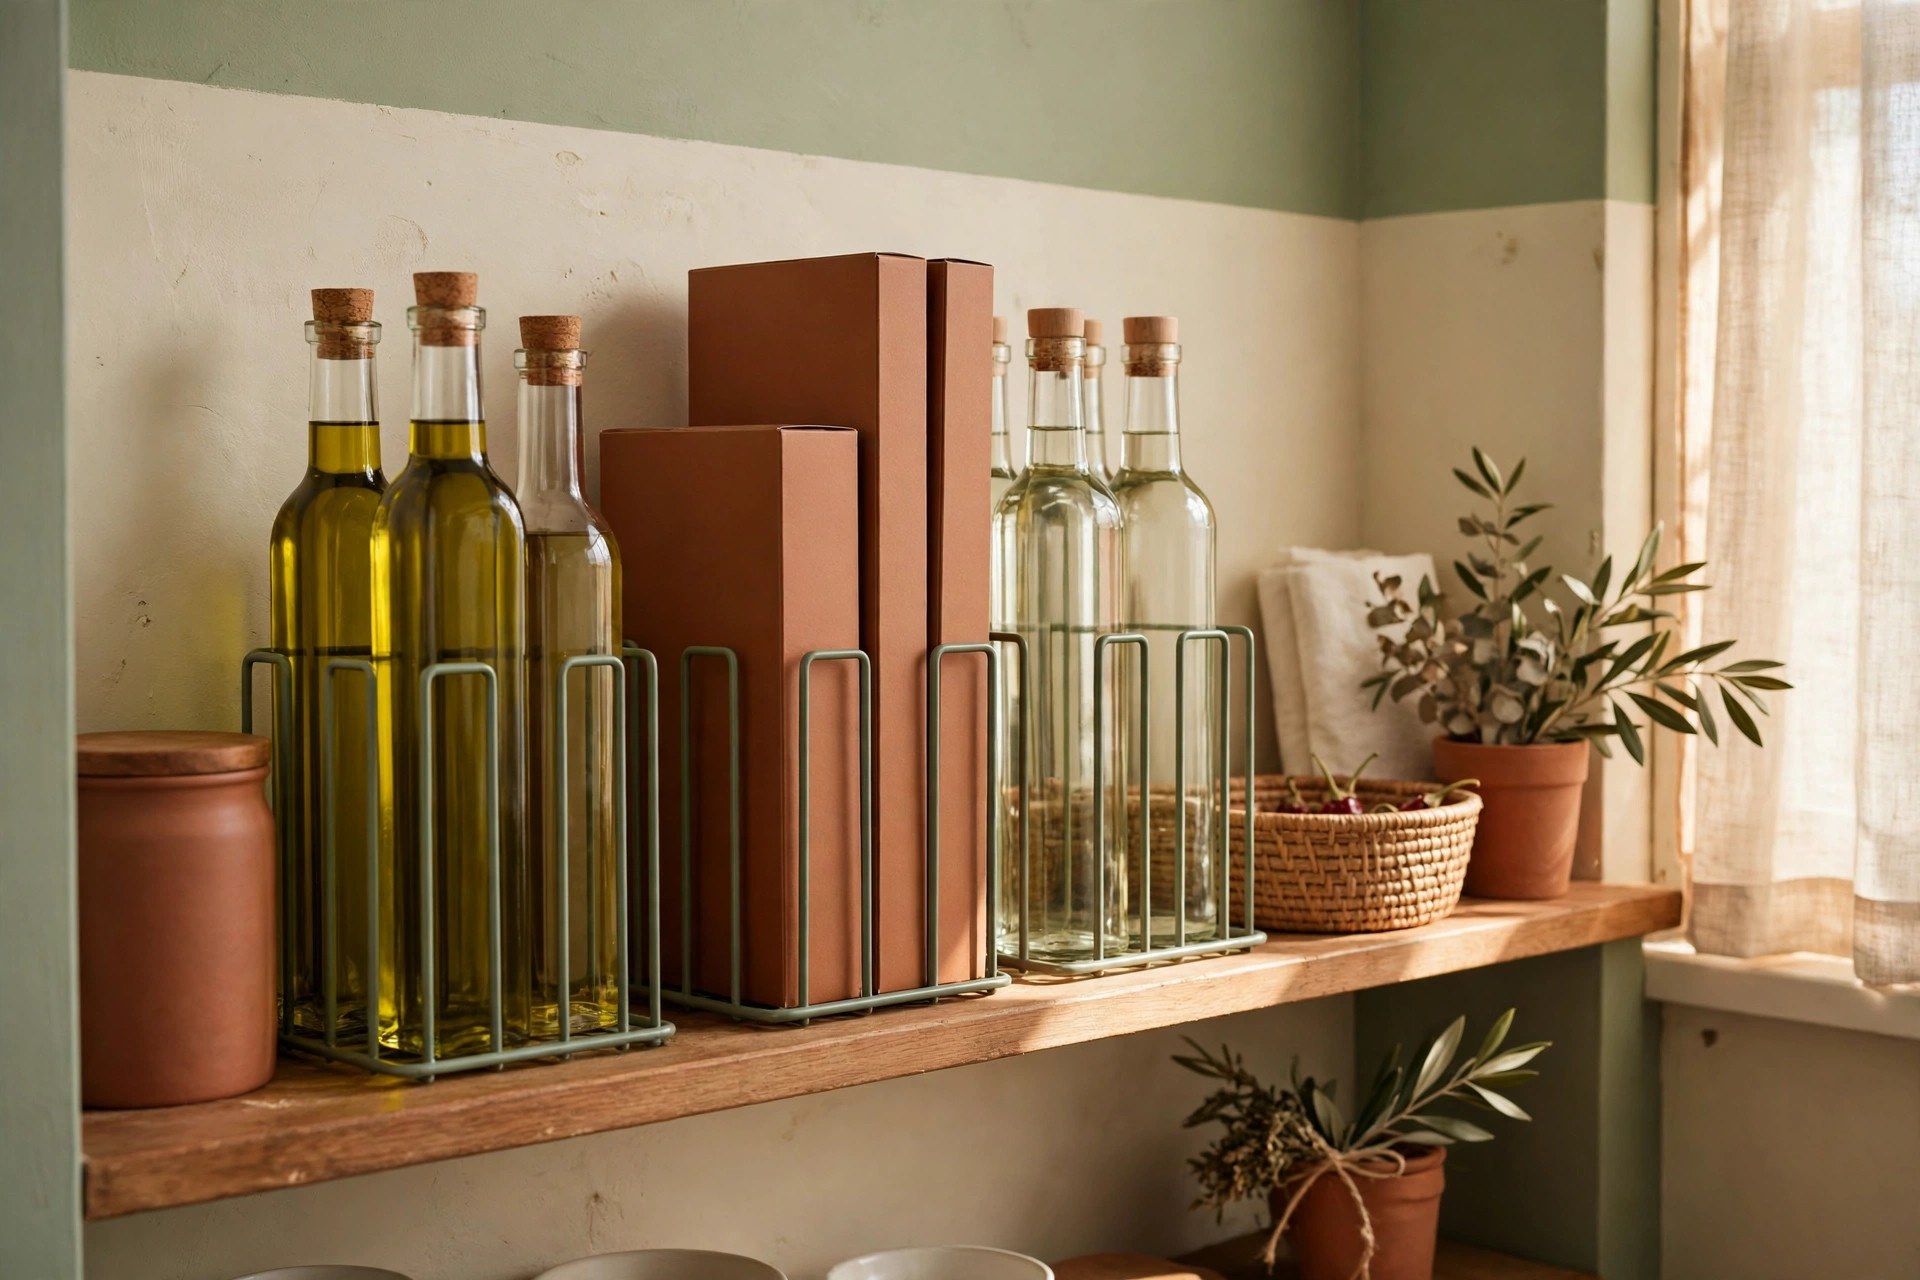
Inexpensive magazine holders corral water bottles, oil bottles, and tall boxes that tip over easily. Turned on a shelf, they also work as dividers for baking mixes and pasta boxes. Cardboard or plastic holders from discount stores keep this idea firmly in budget territory.
15. Add a Small Basket for Produce
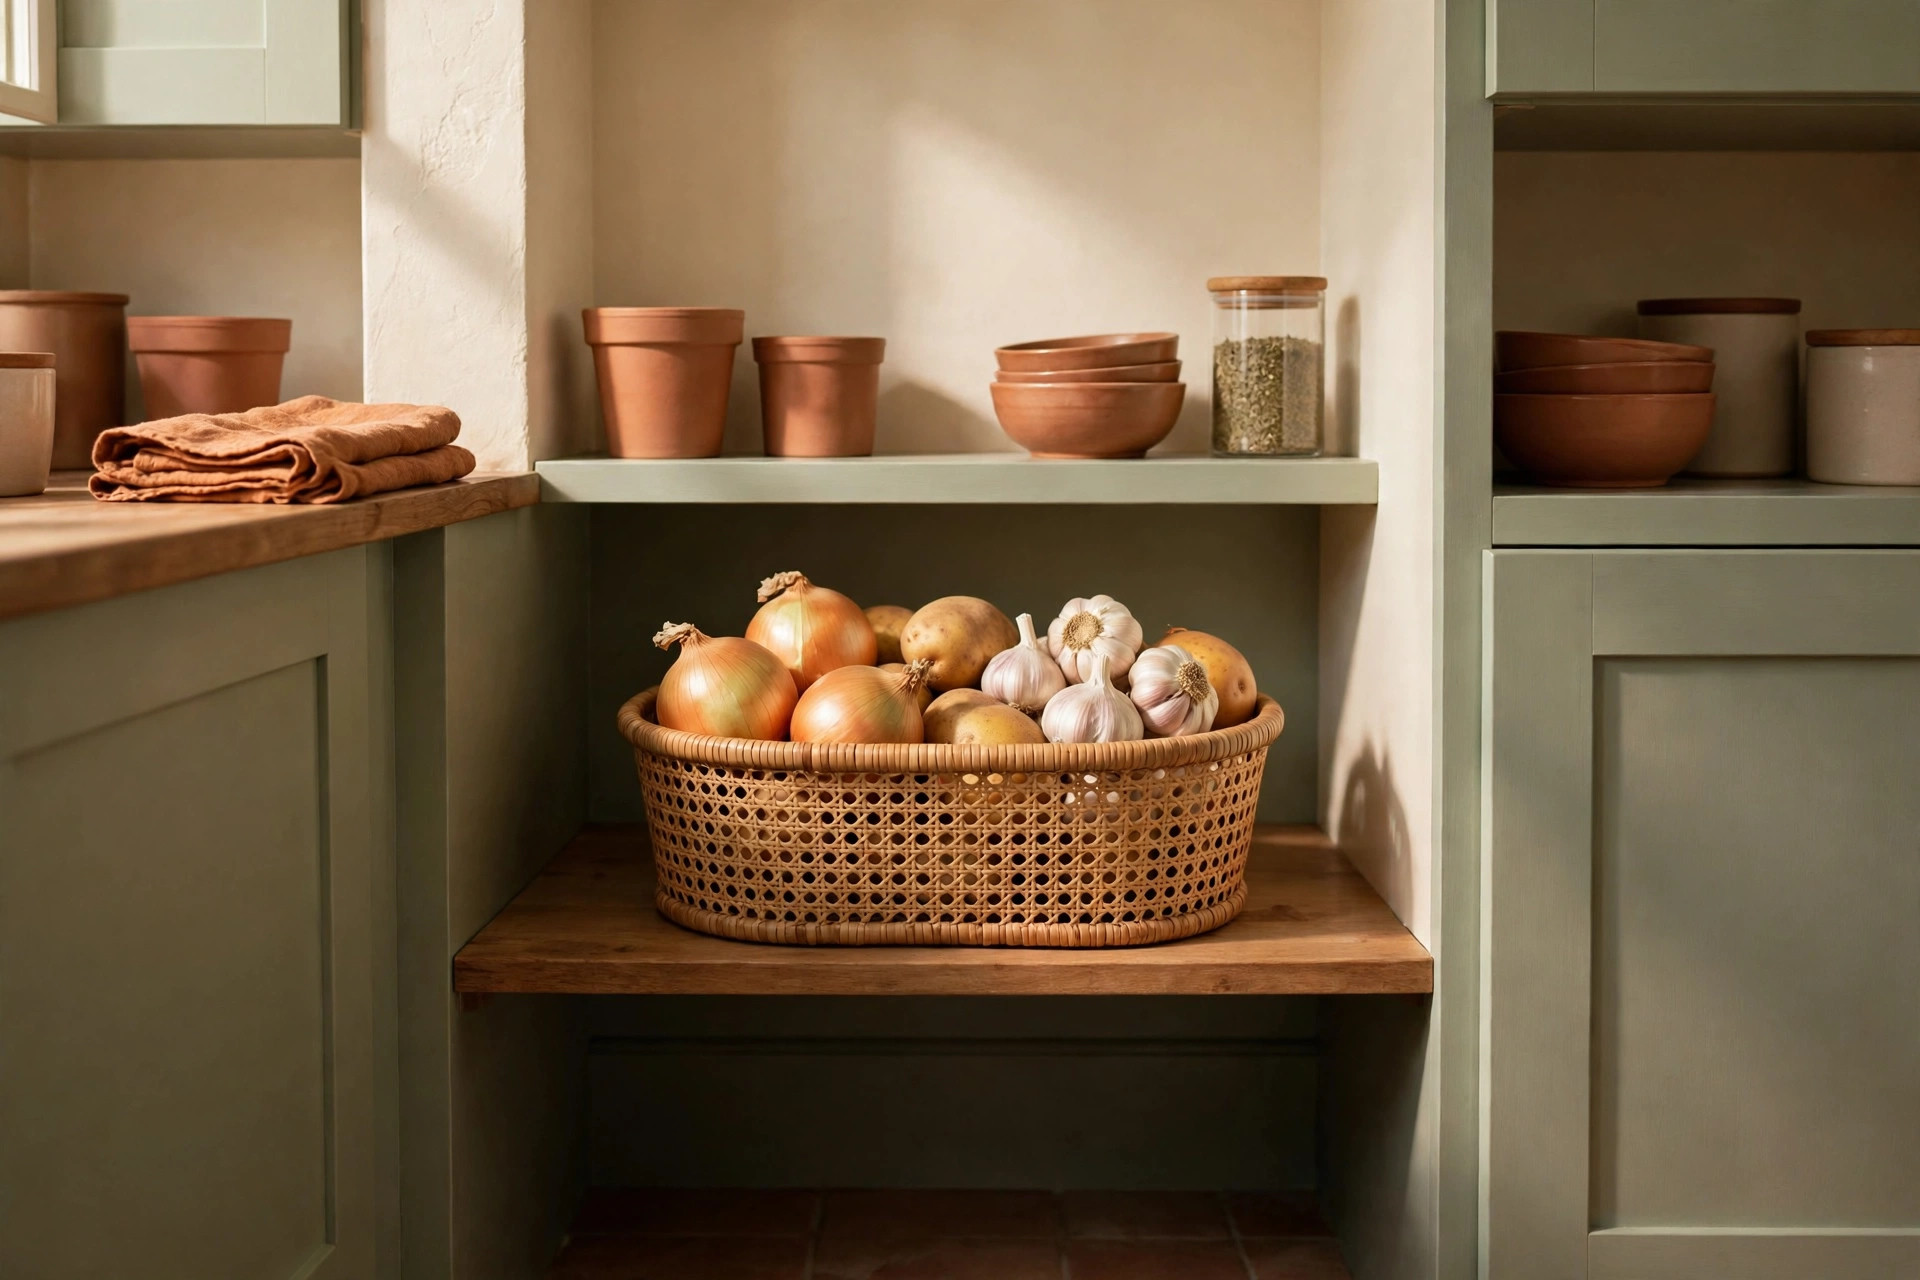
A ventilated basket for onions, garlic, and potatoes keeps produce together and allows airflow that helps it last longer. Keep the basket on a lower shelf away from heat and light where possible. Lining the bottom with paper makes cleanup easy when skins shed.
16. File Baking Sheets and Wraps Together
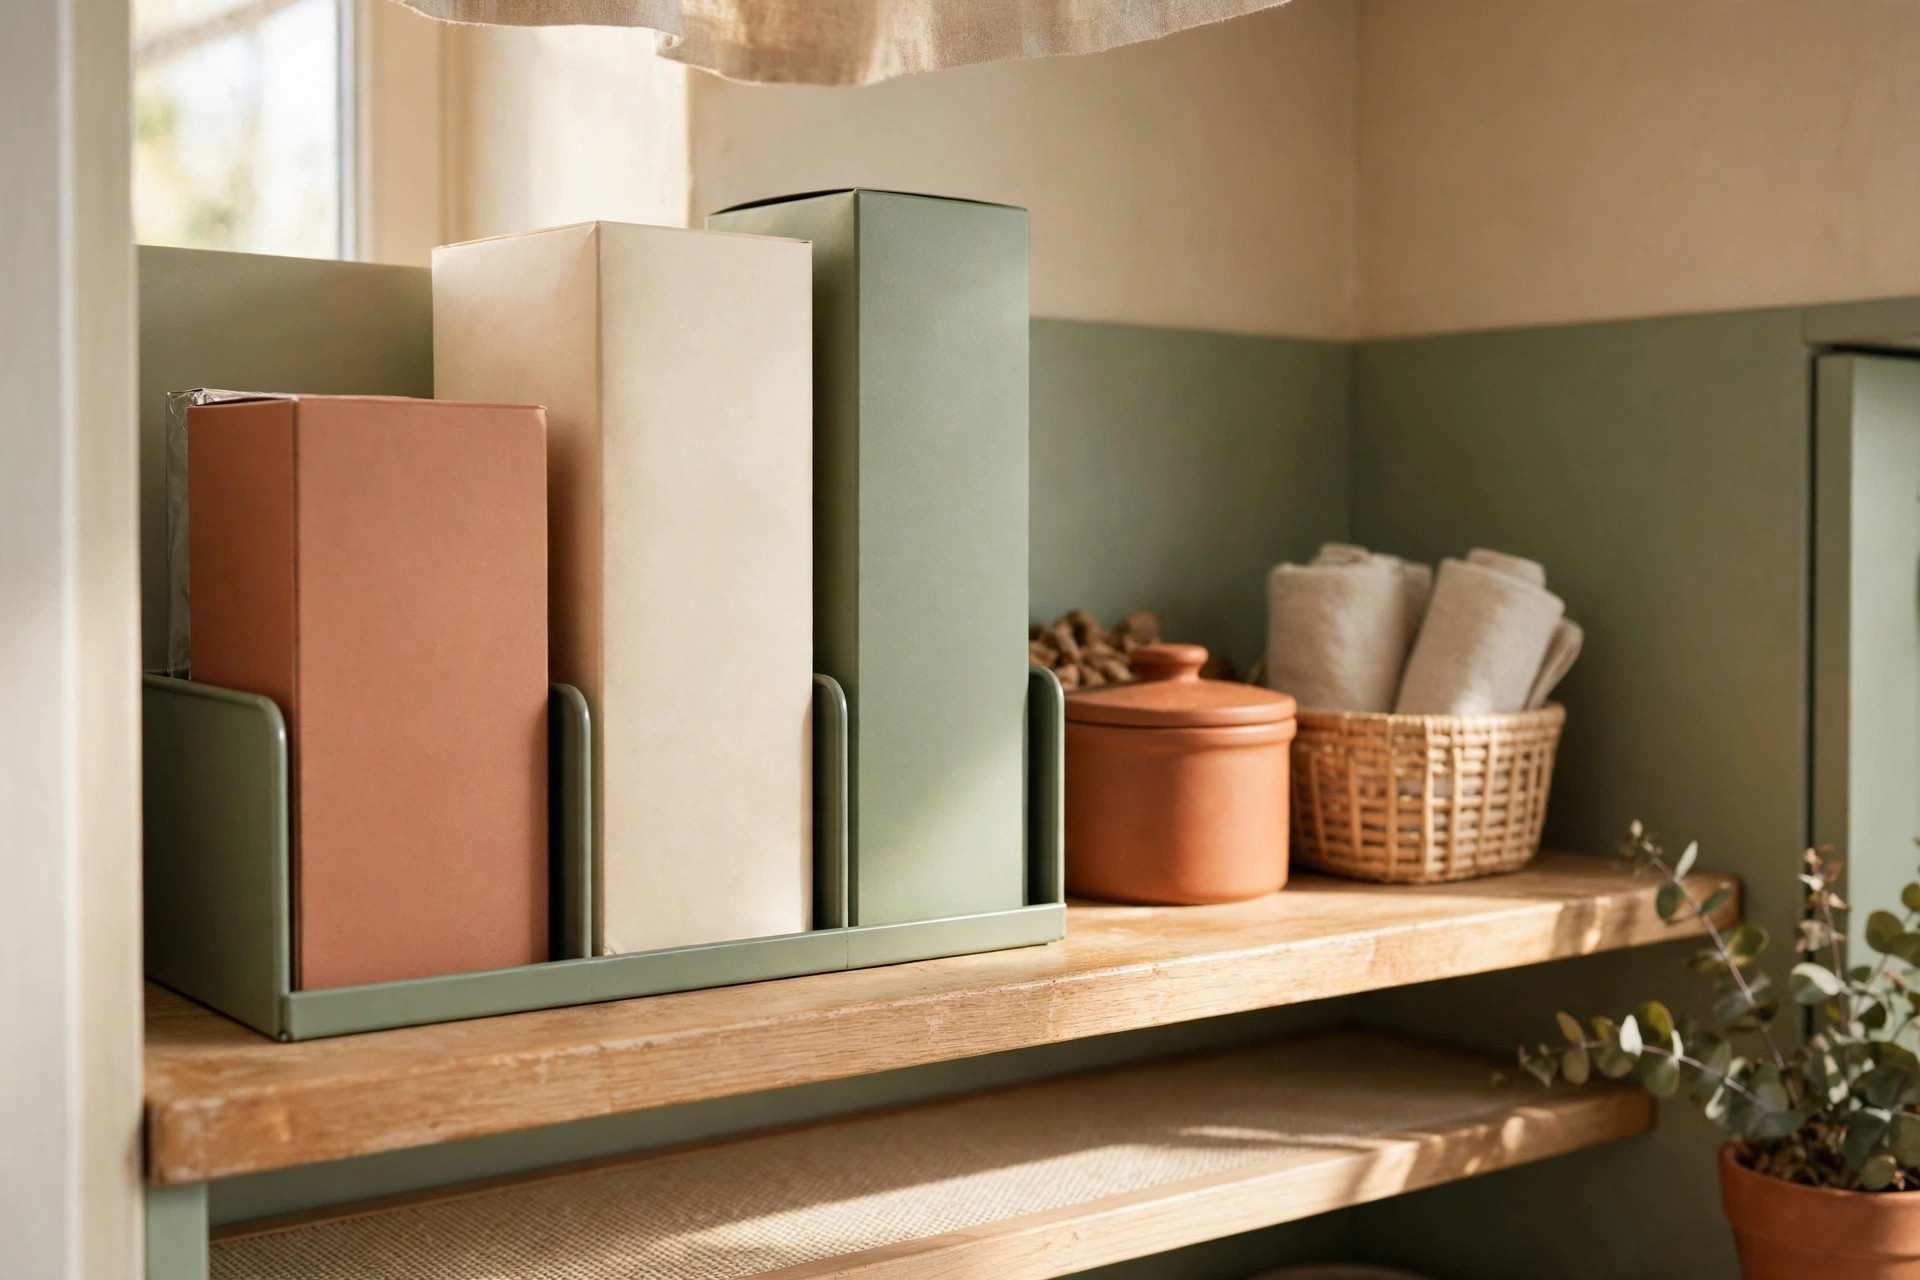
Stand foil, parchment, and wrap boxes upright in one narrow bin or holder near your baking supplies. Upright filing uses a fraction of the space of a flat stack and stops boxes from sliding everywhere. A dollar-store file sorter is a low-cost stand-in for a purpose-built holder.
17. Put Expiry Dates on Top With a Marker
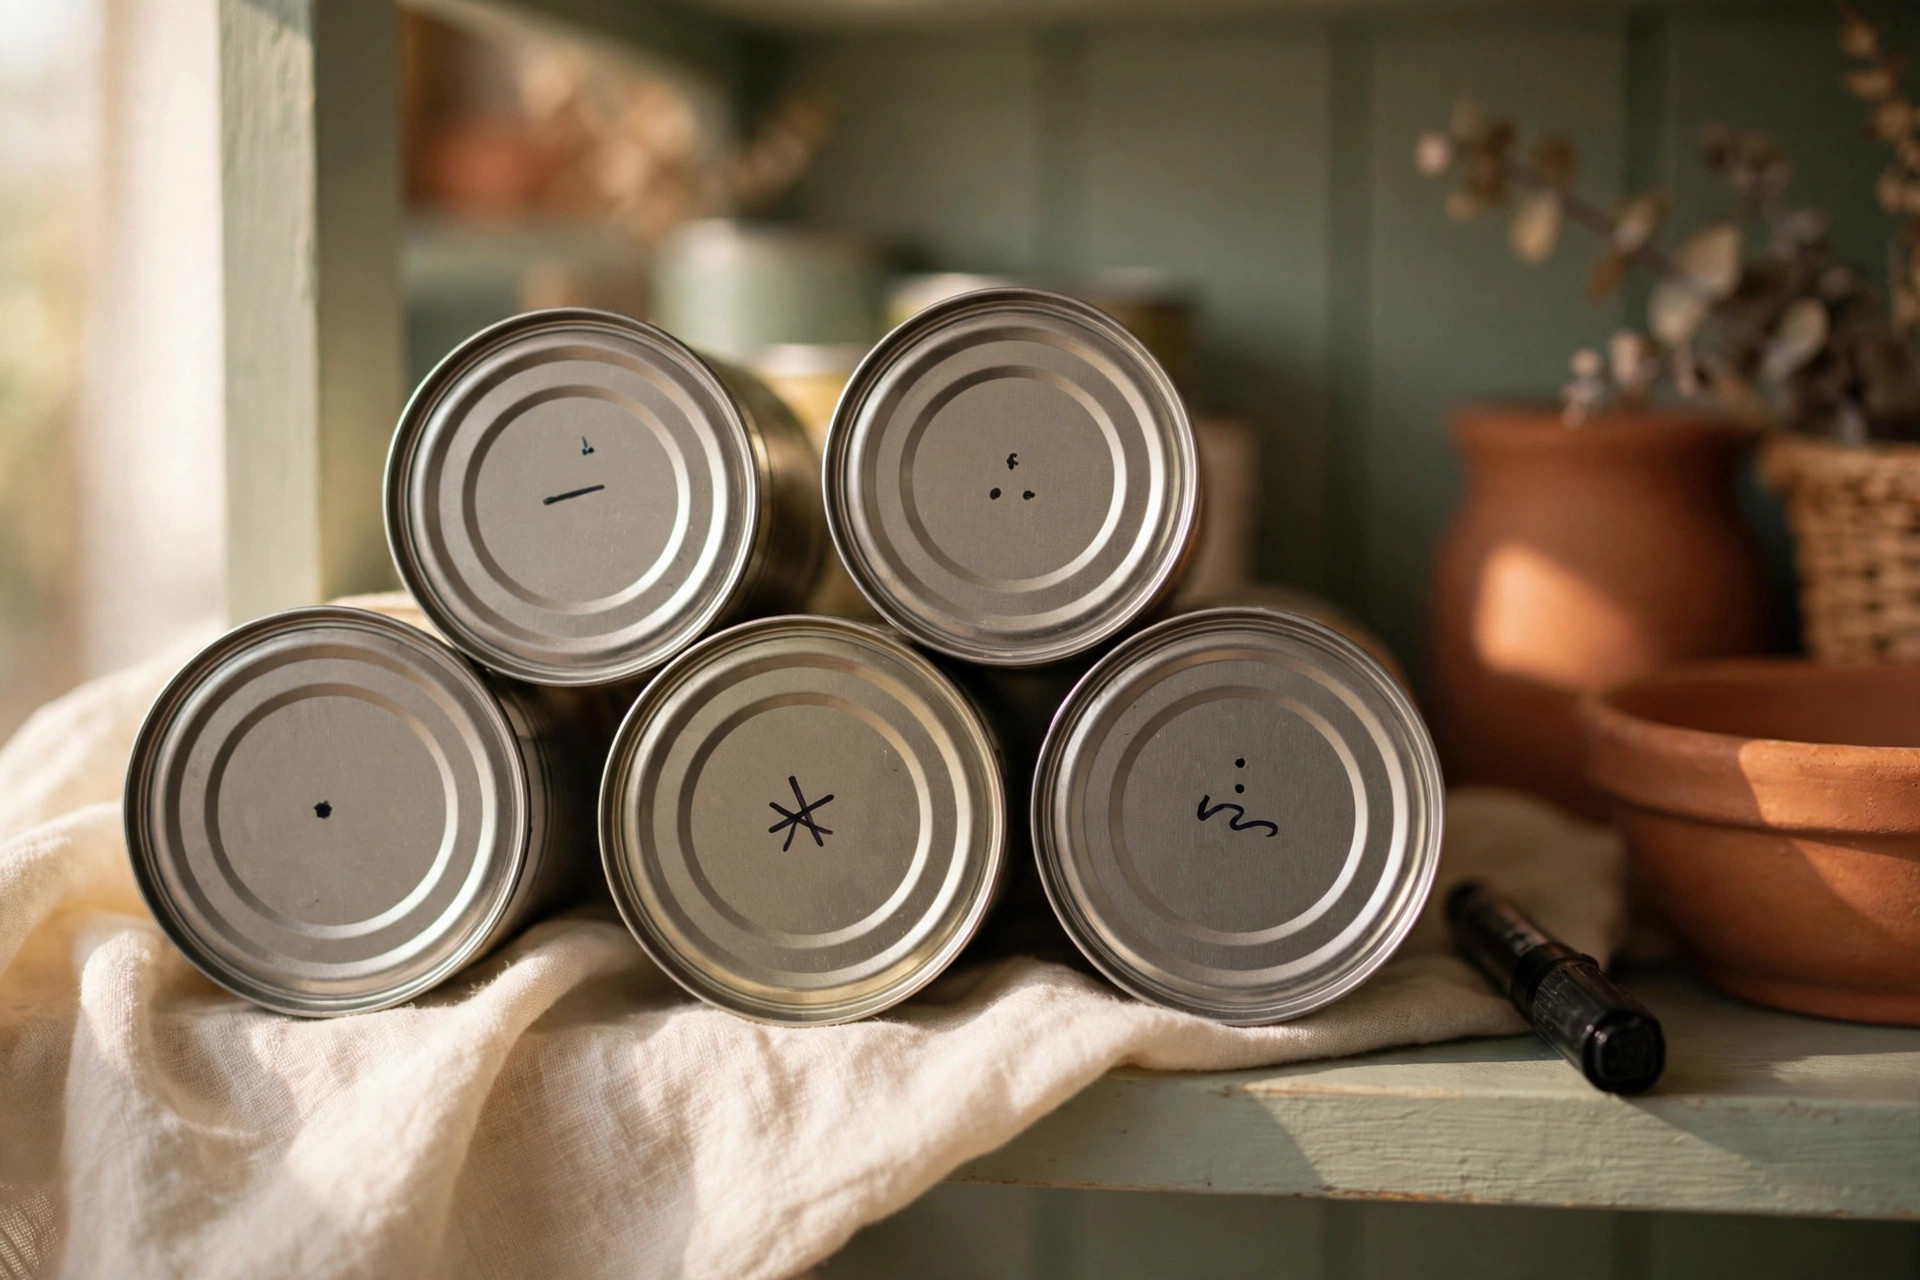
Write the expiry month and year on the top of cans and jars with a permanent marker when you unpack groceries. The date is visible without turning every item around, which makes rotation effortless. Use the oldest items first and move newer buys to the back.
18. Use One Shelf for Breakfast Only
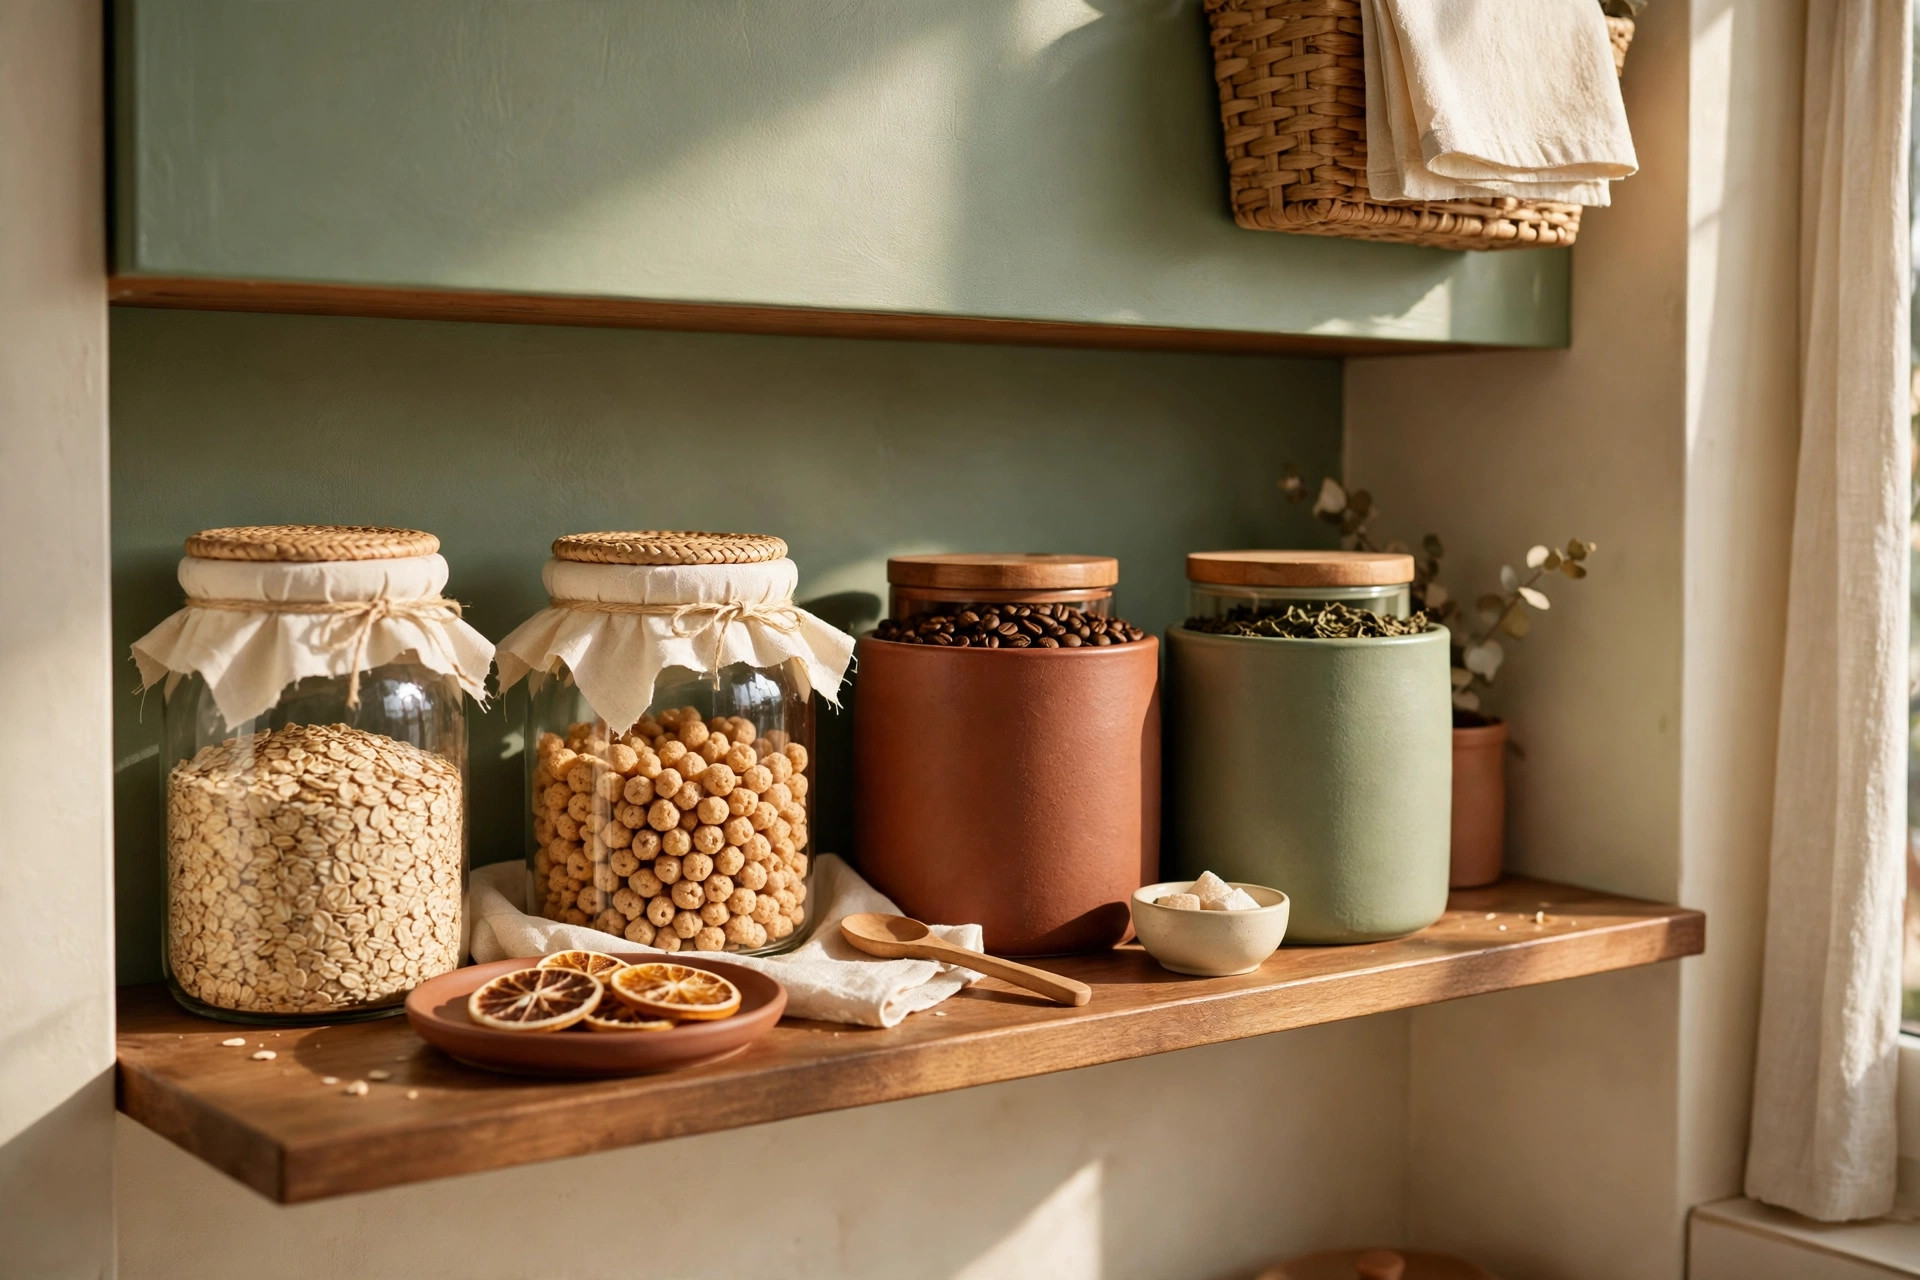
Dedicating one shelf or bin to cereal, oats, coffee, and tea speeds up mornings and keeps those boxes from spreading. In a tiny pantry, a single breakfast bin achieves the same effect on one shelf. Restock this zone weekly so weekday mornings never start with an empty box surprise.
19. Do a 10-Minute Monthly Reset
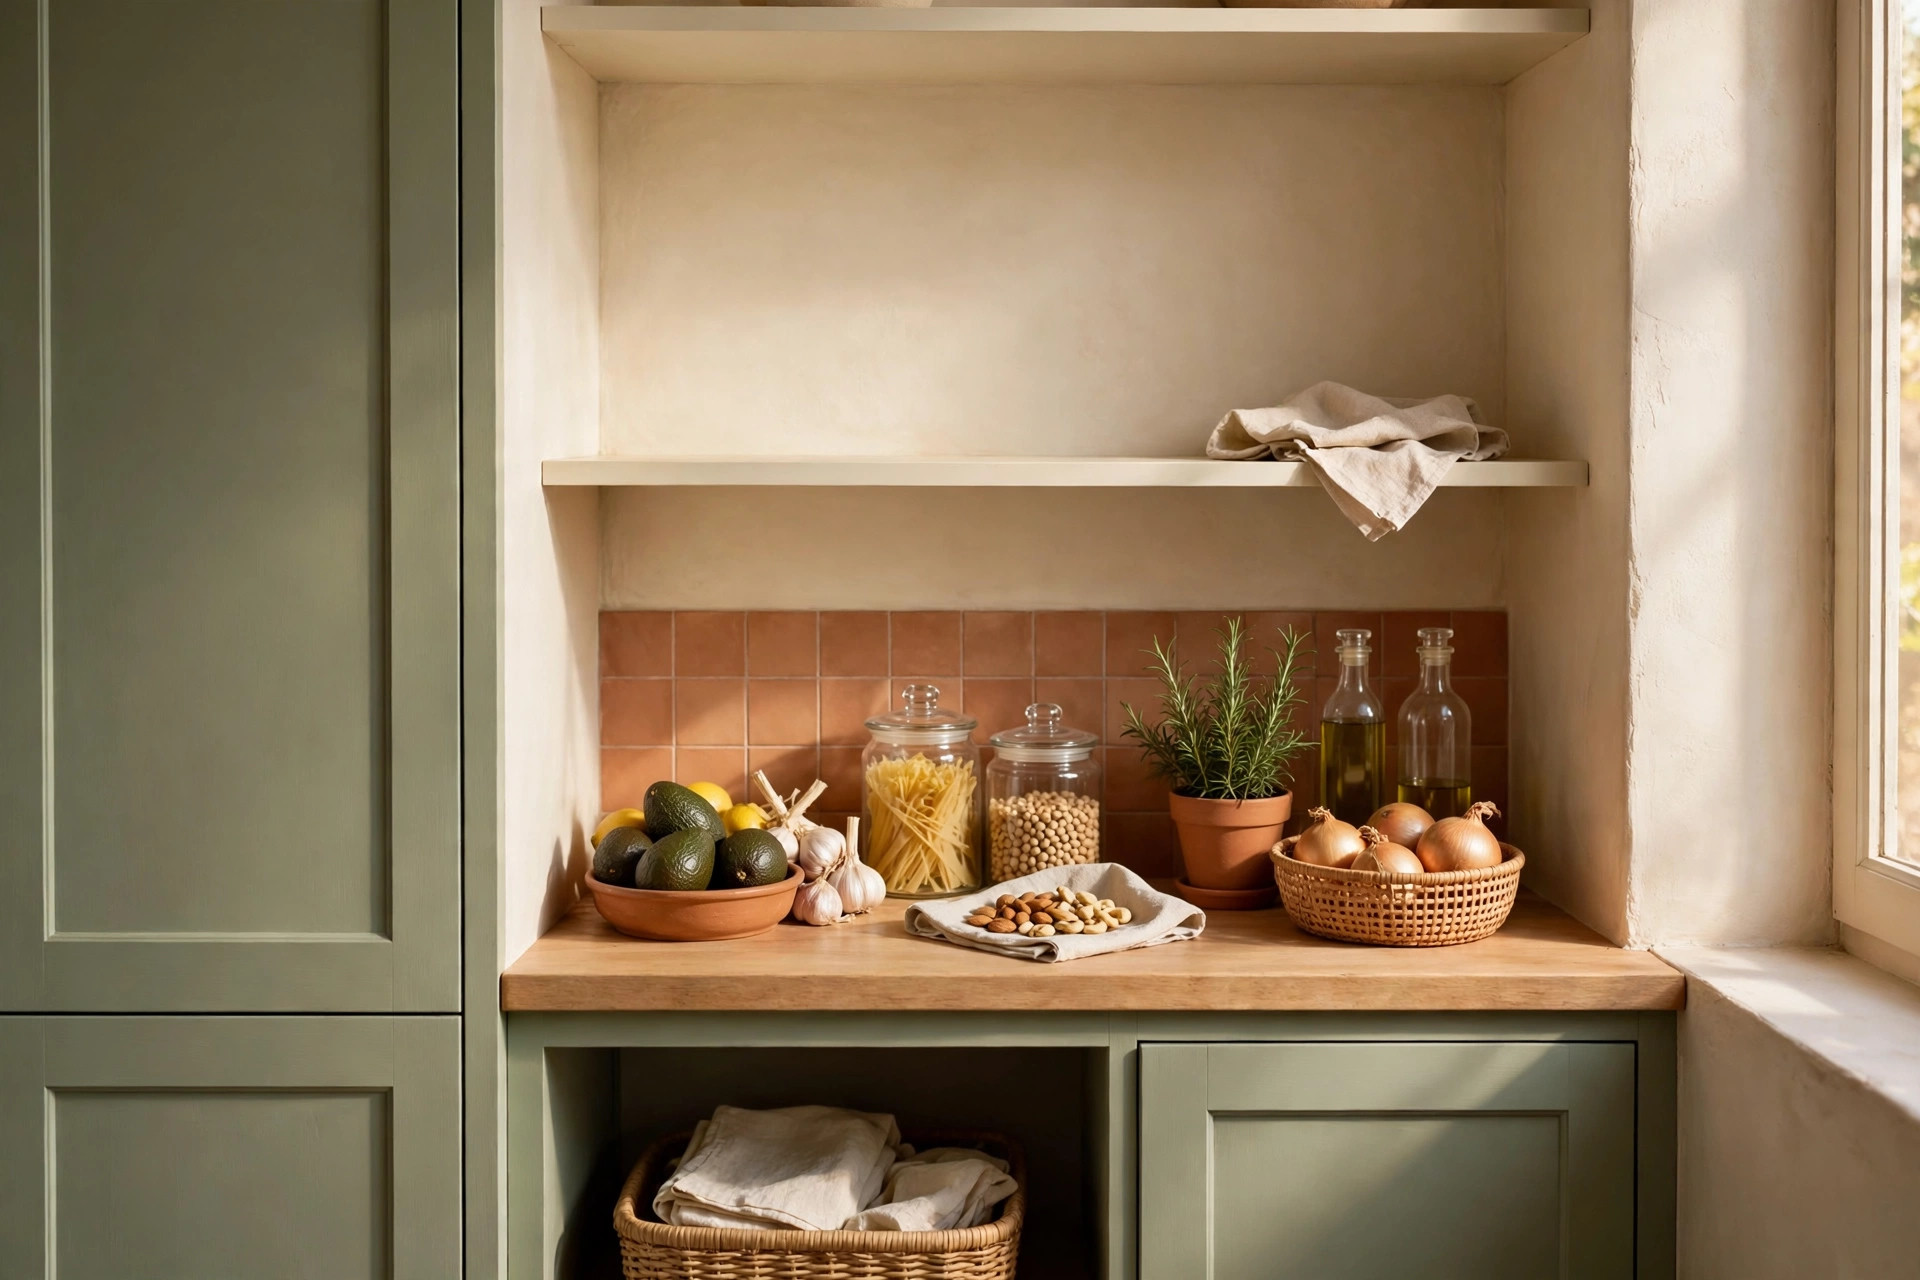
Once a month, pull everything off one shelf at a time, wipe it, toss expired items, and put food back by zone. Ten minutes prevents the slow drift back into clutter that makes small pantries feel impossible. Set a phone reminder so the reset happens before the pantry gets overwhelming.
Frequently Asked Questions
How do you organize a tiny pantry on a budget?
Start by measuring, grouping food into zones, and using low-cost bins, reused jars, and masking-tape labels before buying anything fancy. Add one riser or turntable for the worst shelf, since visibility fixes most small pantry problems. Buy containers a few at a time in matching sizes so the system grows without a big upfront cost.
What containers are best for a small pantry?
Square, stackable, clear containers work best because they waste less space than round ones and show contents at a glance. Open bins suit packets and snacks, while sealed jars and canisters suit flour, rice, and cereal. The best size is the one that fits your measured shelf depth with room to pull it out easily.
How do I stop food getting lost in a deep pantry?
Use a turntable in deep corners, risers to raise the back row, and expiry dates written on top of cans so older items get used first. Keep back-stock separate from daily items so everyday shelves stay shallow and visible. A quick monthly reset catches anything that has drifted to the back.
Keep Exploring
More small-space ideas to try next: 27 Small Kitchen Storage Ideas for Apartments With Almost No Cabinets and 12 Storage Essentials That Give You a Whole Shelf Back.